I’d planned to write this blog for a long time but hadn’t gotten around to it until now. In this post, I’ll show you how I make lake pigments from frugal resources. I began experimenting with creating lake pigments five years ago and the unpredictability of this process really excites me!
Lake pigments are an excellent way to get the most out of every drop of natural color by converting it into a pulverised state with a long shelf life. These pigments can then be used for making natural watercolor paints, oil paints, pastels, or crayons.
What is a Lake Pigment?
A lake pigment is one that is precipitated from an inert binder, or “mordant,” generally a metallic salt (potassium aluminium sulfate). Following that, the precipitate is filtered, washed, and pulverised. While dyes are water-soluble, lake pigments are insoluble and tint via dispersion.
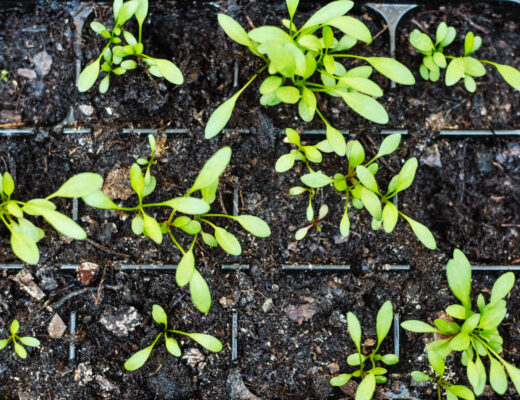
Choose your plant-dye source
You can experiment with making lake pigments from plants from where the dye can be extracted. Begin with materials you can easily find in your kitchen, such as food waste (avocado peels and stones, pomegranate skin, teas, etc.).
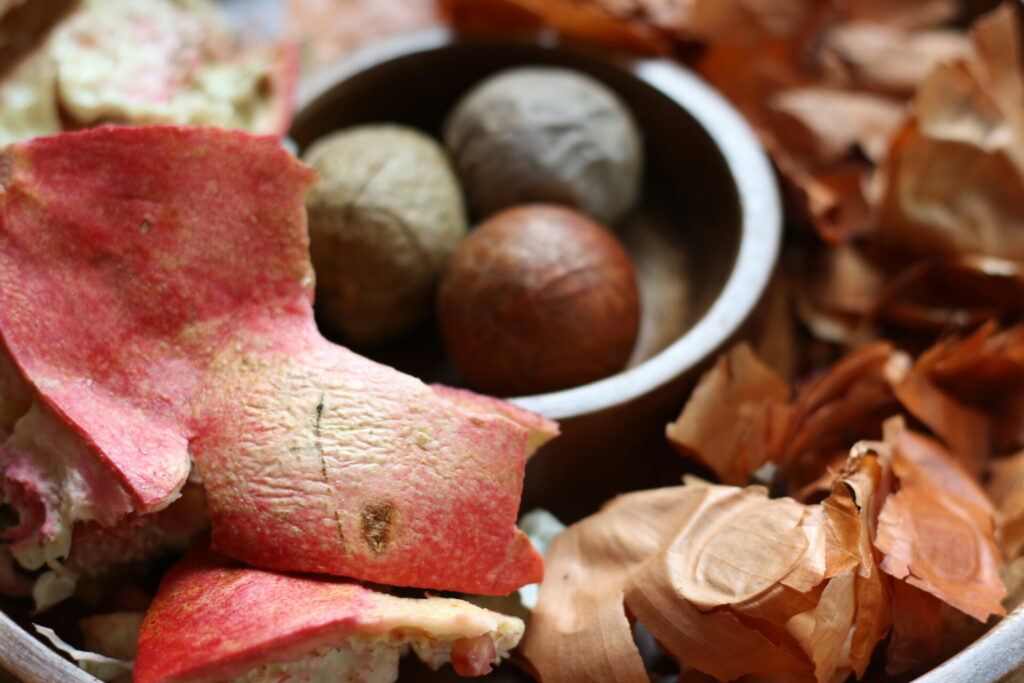
Food waste
Depending on the time of the year, you can find a variety of plants that can be used not just for natural dyeing but also for making lake pigments. Finally, you have the option to use the traditional plant dye sources: madder roots, weld, buckthorn, logwood, brazilwood, to name a few.
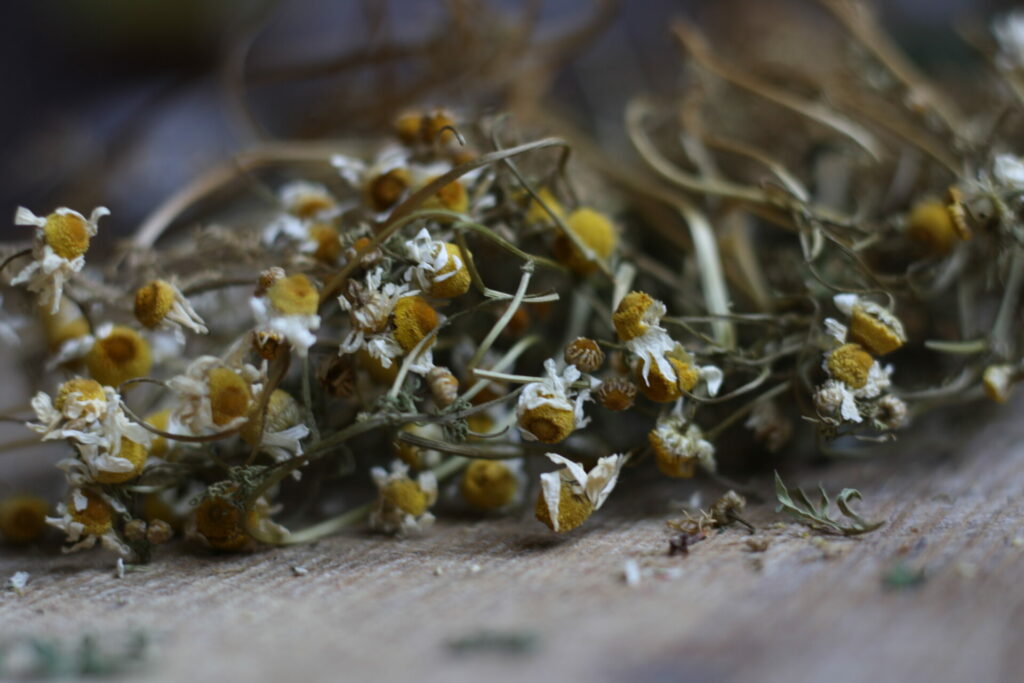
Foraged and dried organic flowers
The general process of Lake making
A basic lake pigment is relatively easy to make. Certain lake pigments, on the other hand, are more complicated. The process for creating a lake pigment is identical for each ingredient, however, certain colors need boiling, while others, such as madder, may be ruined by boiling. This can only be discovered by trial and error. Additionally, the proportions of alum and alkali also vary depending on the dye, so some trial and error is required to acquire the proper quantities for a particular dye source.
General safety guidelines
When identifying plants, exercise caution and ensure that they are not toxic. When working with powders, always wear a mask and safety glasses/goggles. Protect your skin and clothing from dyes, and pigments by wearing an apron and gloves. Avoid inhaling fumes arising from the dye pot. Please follow the safety instructions when working with chemicals (mordants). Maintain a dedicated set of equipment for dyeing, never use it again in the kitchen. Work in a well-ventilated area away from children and animals.
Tools + Ingredients
- Pots and glass jars
- Spoons for stirring and measuring
- Funnel
- Coffee filters
- Muslin Cloth
- Plant matter ( dye source) and water
- Alum (potassium aluminium sulphate)
- Washing soda (sodium carbonate)
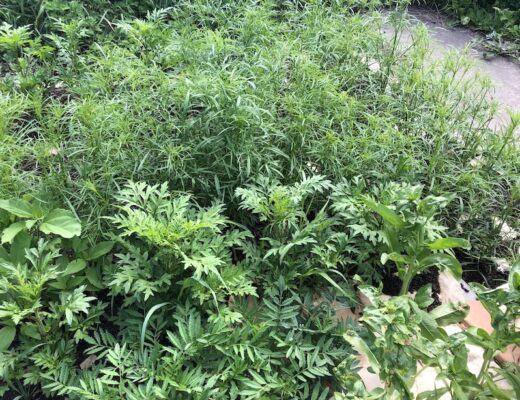
Here I’ll use some foraged goldenrod flowers. This beautiful wildflower creates an incredibly bright yellow color.
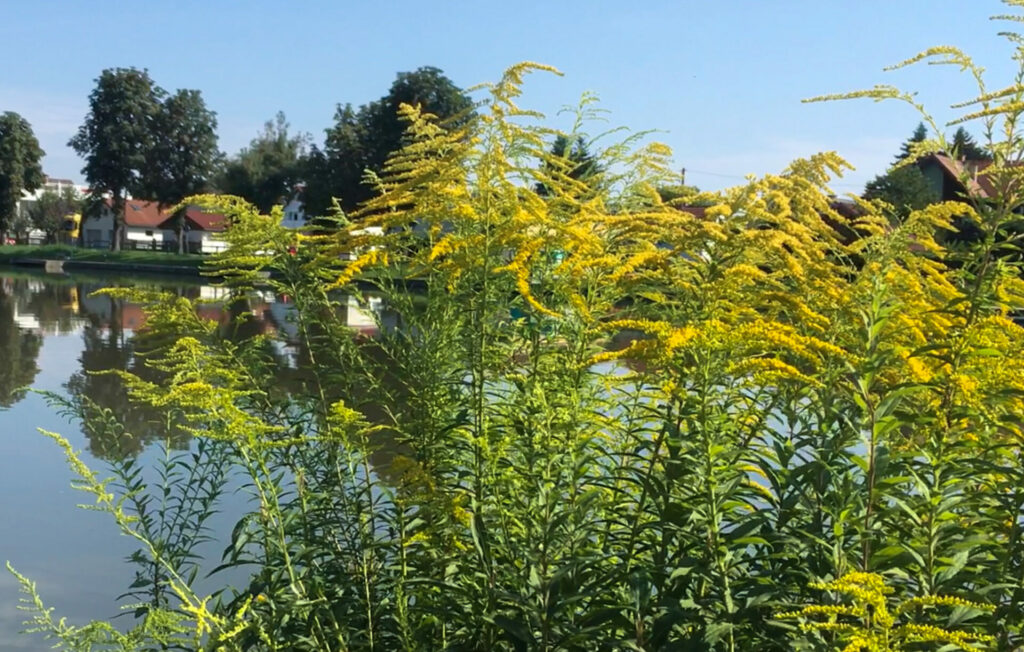
Golden rod flowers
1. Dye Extraction
Collect your plant material, place it in a big pot and add hot water over it. Allow to steep overnight. We don’t need as much water to generate a rich and concentrated solution. On the following day, simmer the steeped dye extract for approximately 30-40 minutes at low heat with constant stirring. Do not allow the dye to boil. Let it cool before proceeding to the next step.
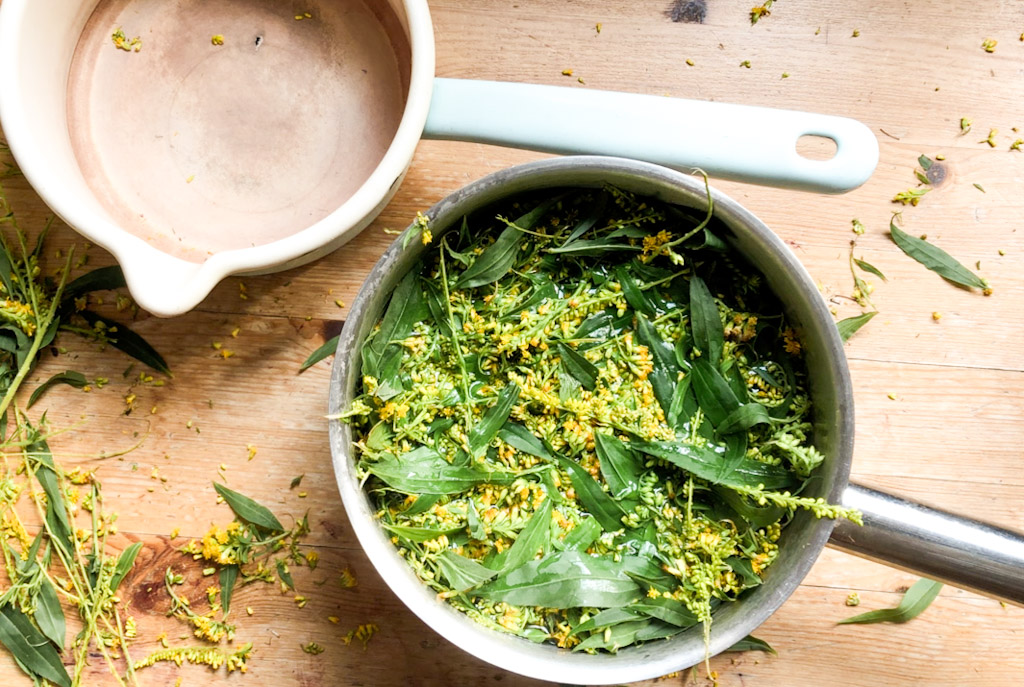
Steeping the golden rod flowers and leaves
2. Laking process
Once your dye is extracted strain the dye liquid using a coffee filter or a muslin cloth. Squeeze as much as you can to get all the precious dye liquor.
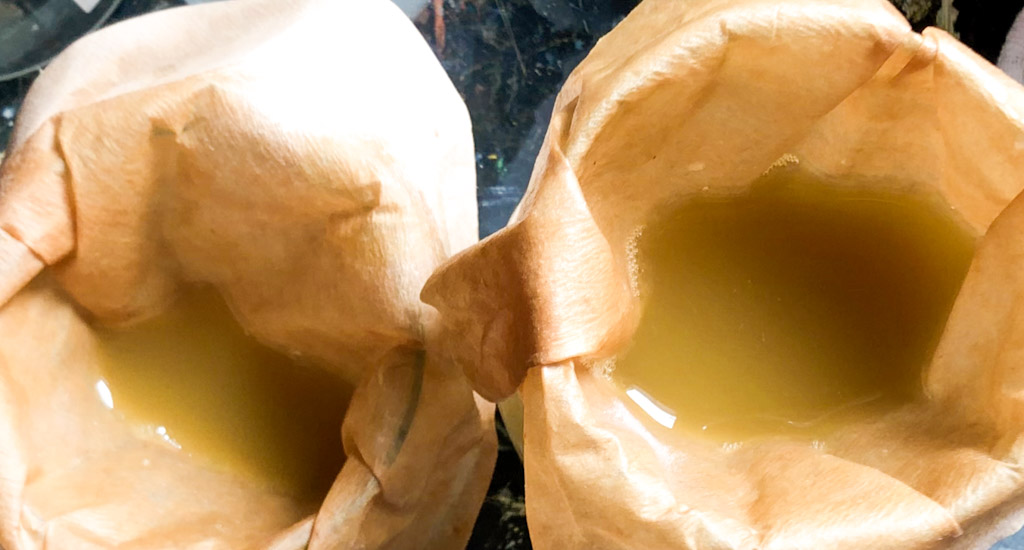
Filtering dye extract
Now that you’ve got some extracted and filtered dye, the magic can begin. Make a 10% solution of alum in hot water then pour the warm alum solution into the dye jar. You will observe an immediate shift in the color of the dye extract. In another jar make a 2.5% solution of washing soda in hot water. Add this warm alkaline solution slowly with constant stirring. The dye should start fizzing as the base reacts with the acid. Stir, the solution allowing the pigment to bind and precipitate.
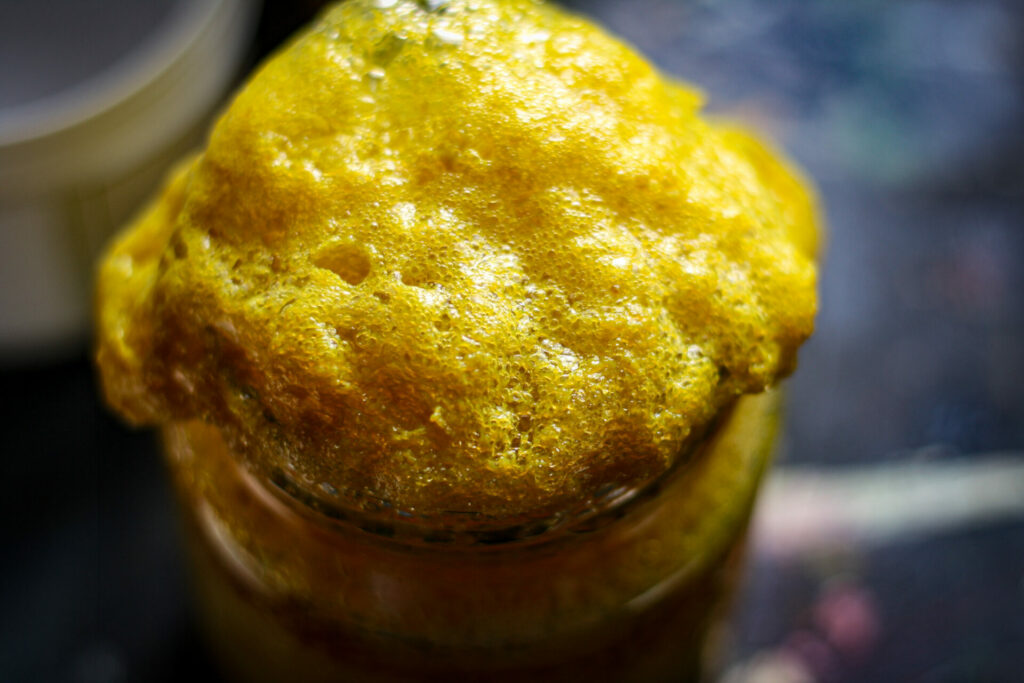
The laking process
How much of each, alum and alkali, should be used? Well, it’ll be different for each dye and each recipe. As a general thing, it’s better to add little than to add too much, as more can always be added later. The best way to ascertain the completion of the reaction is to check the pH of the solution, it should be neutral (pH 7).
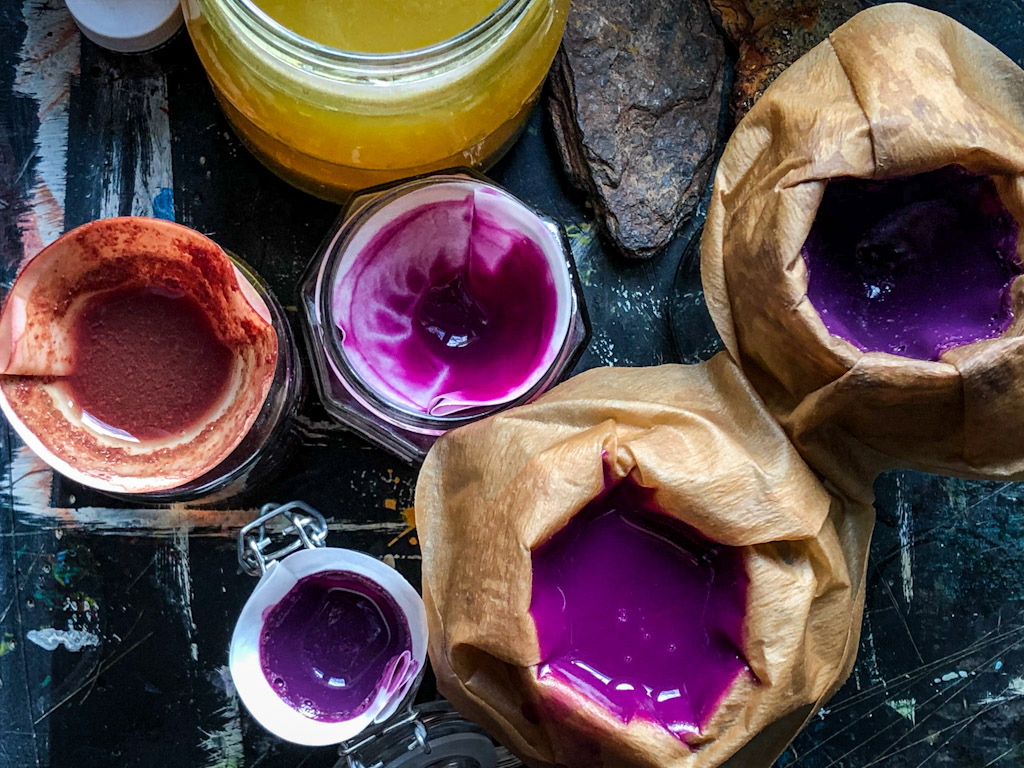
Once the foam has completely vanished (which may take some time), let the solution sit for a while longer (usually overnight) to allow the sediment to fall to the bottom. It’s handy to do this in a glass container so you can see the layer of sediment. When the solution has built pigment sediment at the bottom you can carefully spoon off the liquid on top.
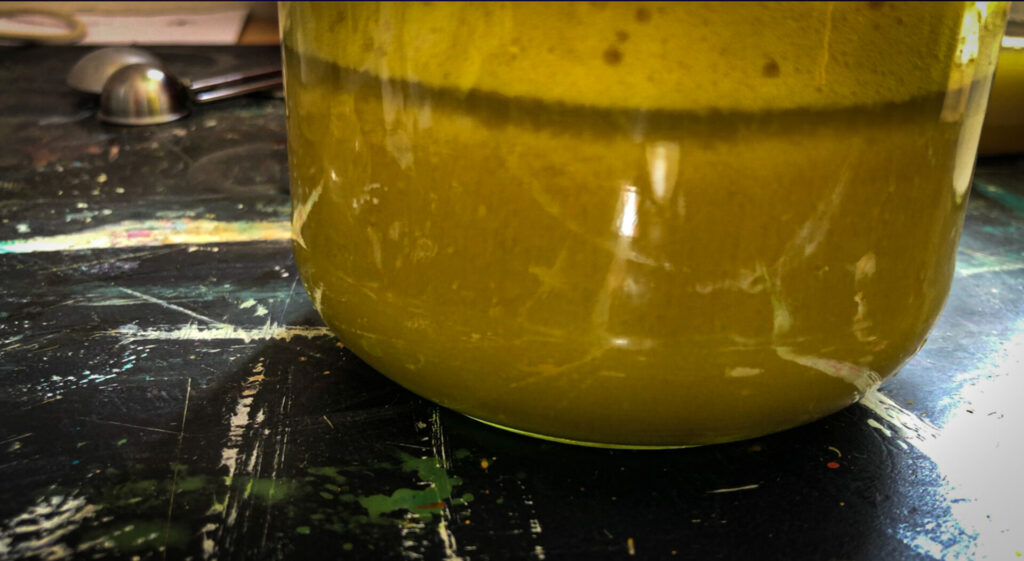
Pigment sedimentation
4. Filter and wash
Now prepare a container with a funnel lined with a coffee filter. Strain the sedimented liquid through the filter. It will take a while to drip through. Once the liquid has passed through, wash the pigment that is left behind on the filter paper with clear water till you get a clear filtrate in the jar. Alternatively, scoop all the pigment on the coffee filter into a clean jar with fresh water and give it a good mix allowing all the unwanted mineral salts to dissolve in water before repeating the filtration process.
5. Drying and storage
After washing the pigment remove the filter paper and lay it flat on a surface for the wet pigment to dry. Place it in a warm and dry place without much direct light. Allow it to dry fully. It will probably shrink in volume quite a bit as it loses moisture.
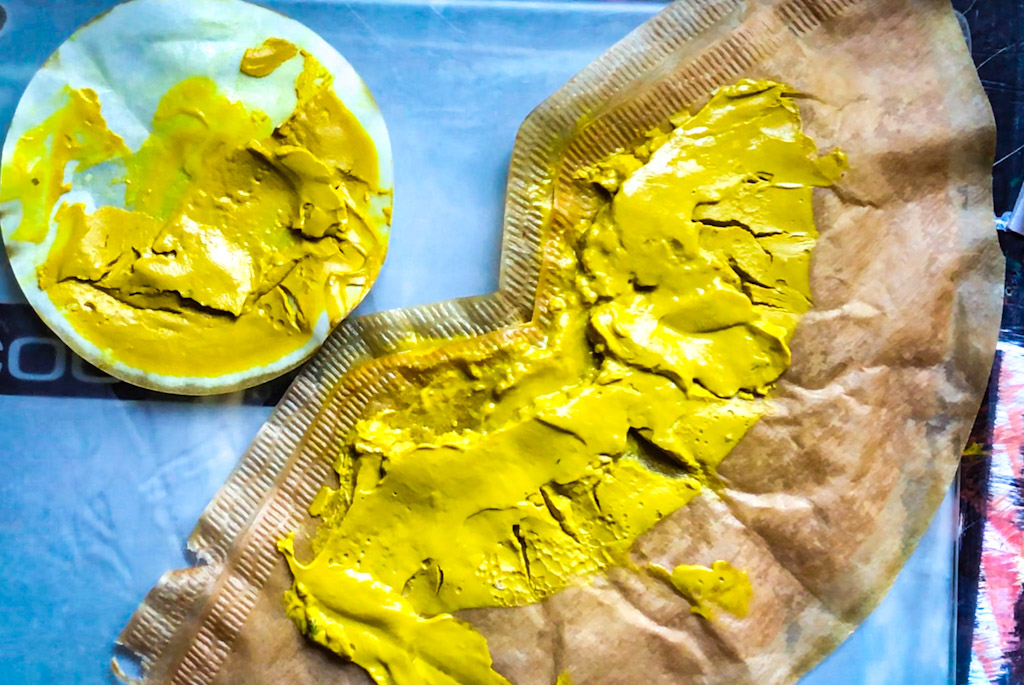
Drying goldenrod lake pigment
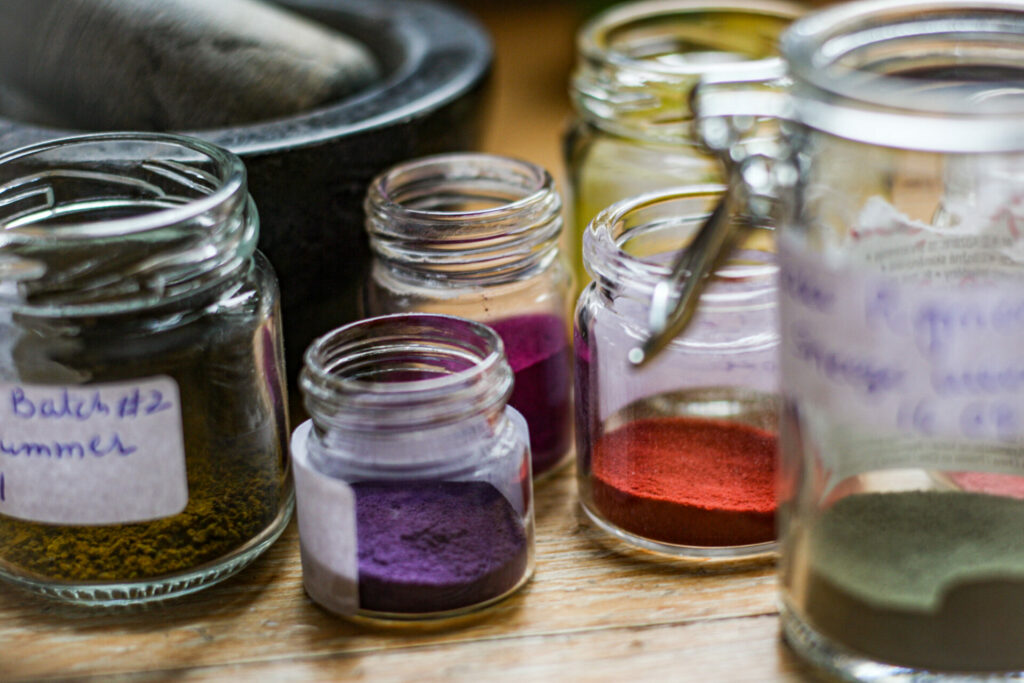
Once the lake is completely dry, you can grind it up, thoroughly, using a mortar and pestle. Store the pulverised pigment in an airtight jar.
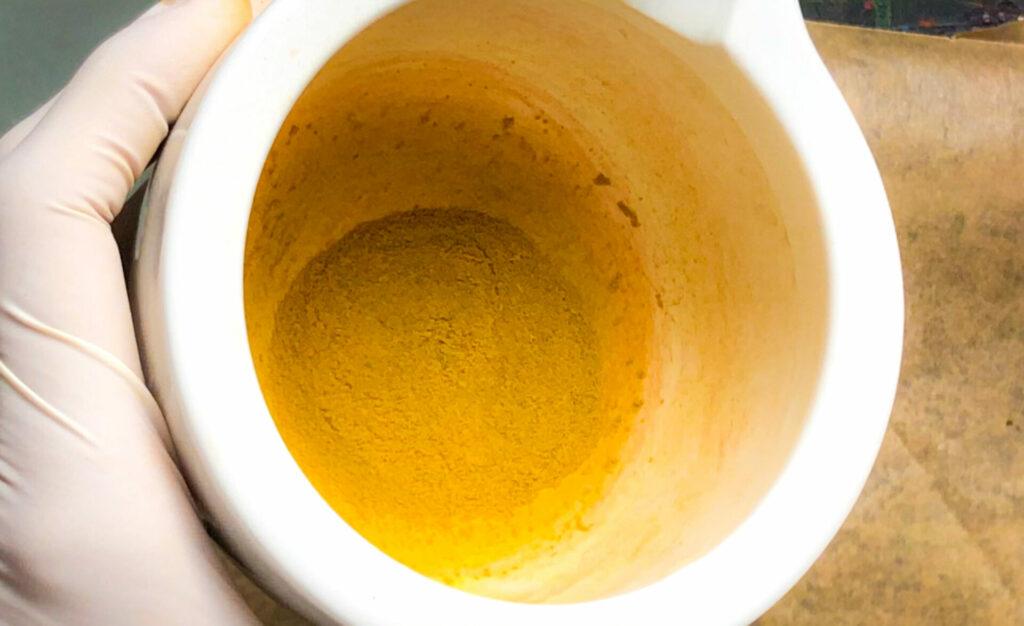
Pulverised Goldenrod lake pigment
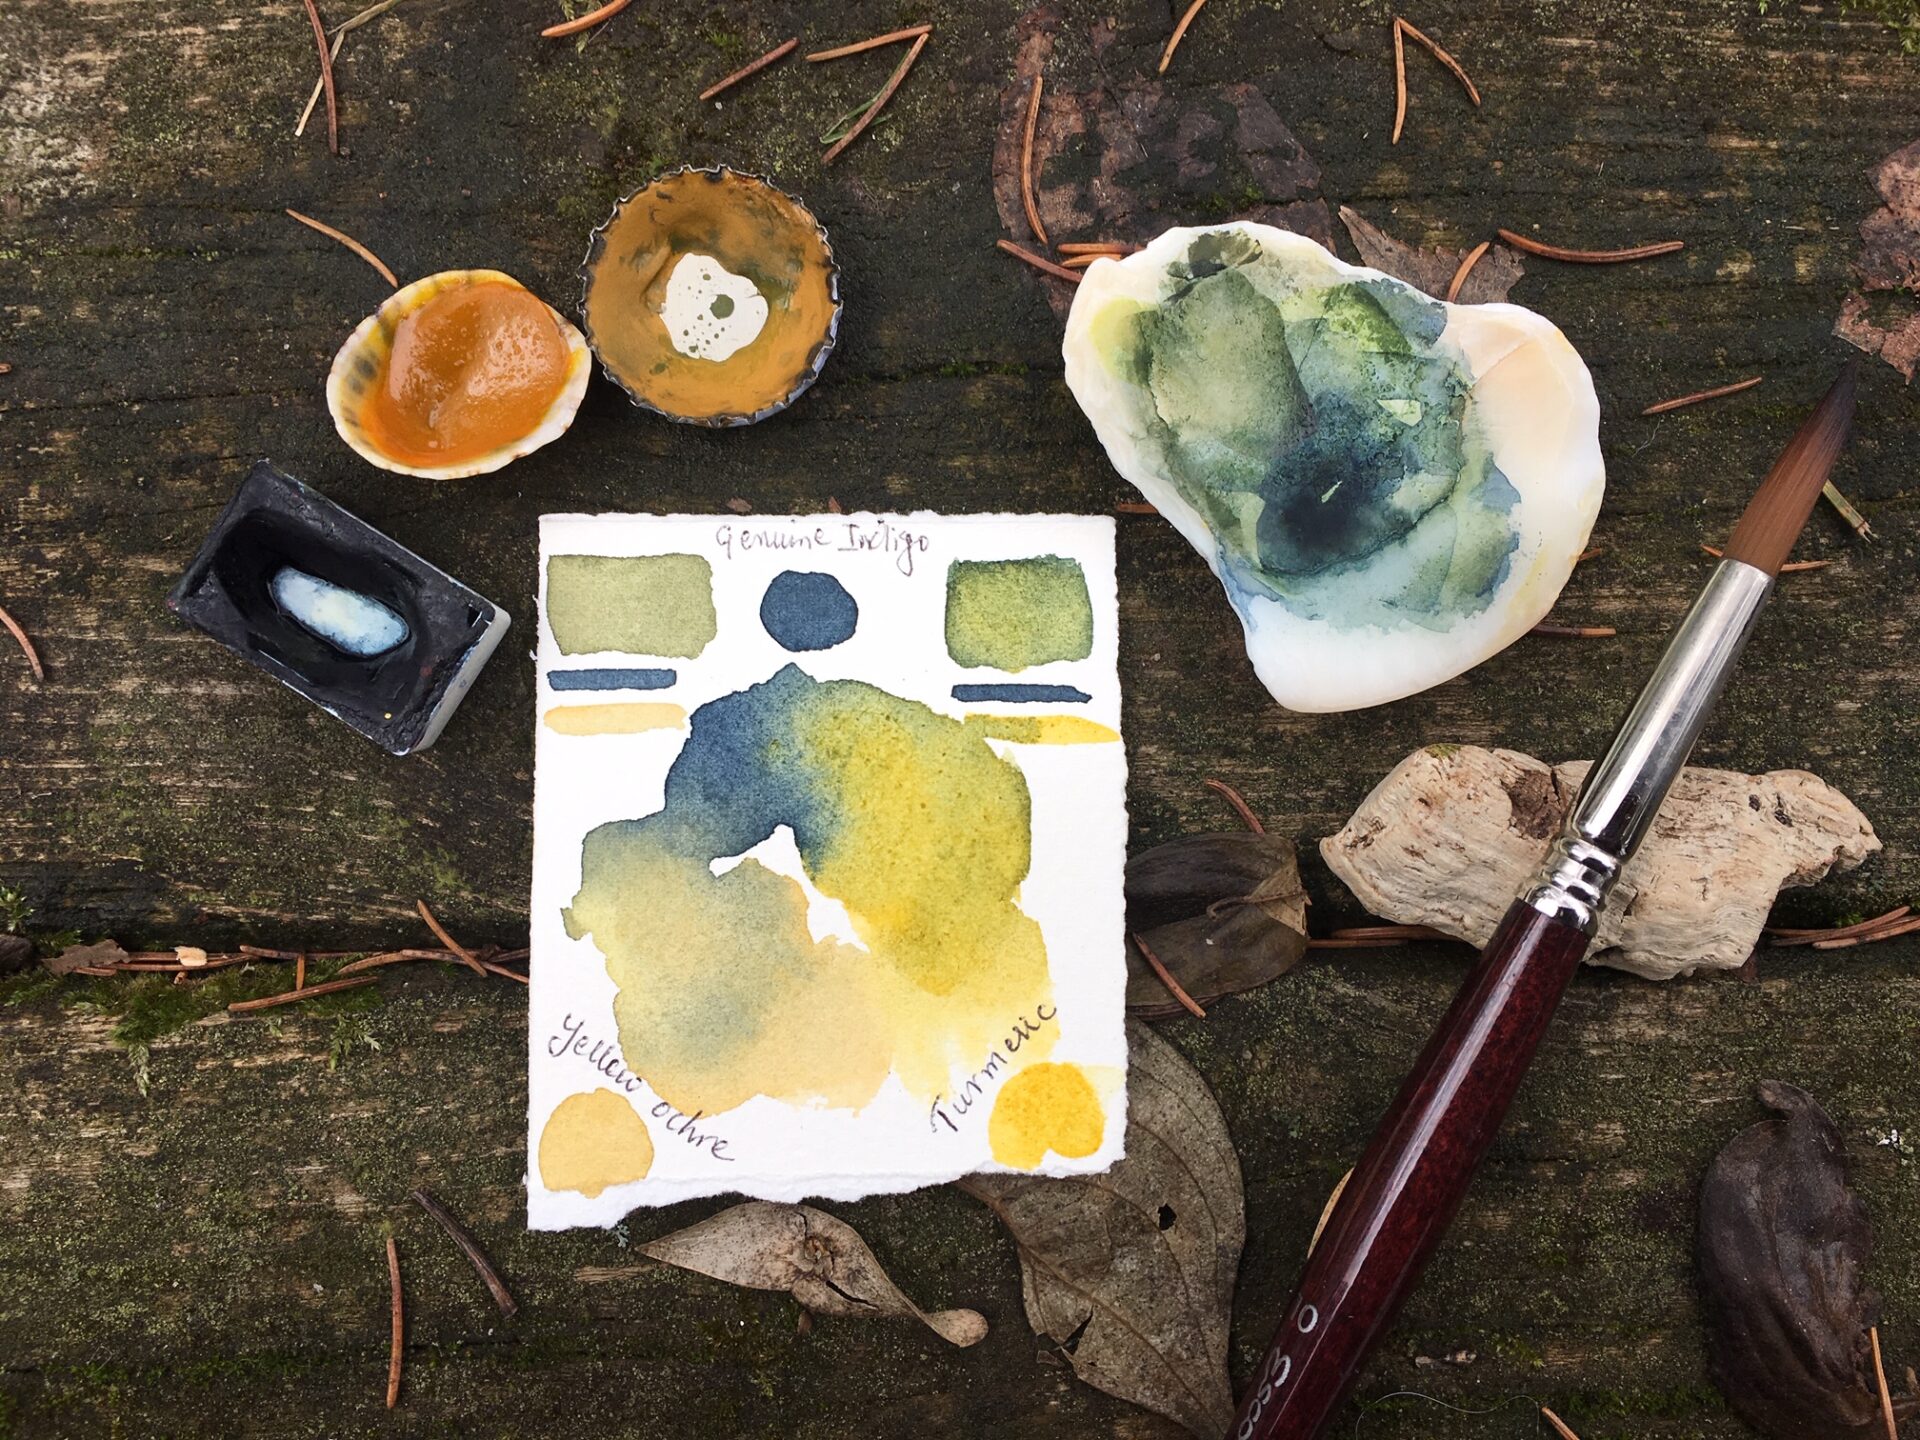
Now that you have your pigment, mix it into gum arabic or linseed oil to make watercolor or oil paints, and try it out! There’s nothing quite like making a painting with your own pigments and paints to give you a sense of accomplishment. Don’t forget to take detailed notes during the procedure.
1 Comment
[…] eco-friendly pigment powder from flowers is a fascinating way to engage with natural art materials. Lost in Colours offers a step-by-step guide to making your own artist-grade natural pigments from flowers, ideal […]