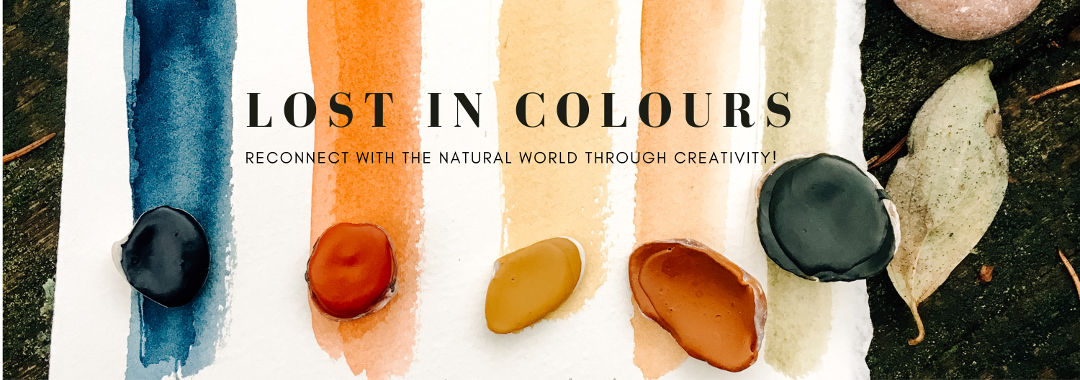
The journey of a plant to paper!
What is Paper?
Papyrus, Auroville
Children’s playground in Auroville
One of many sustainable cafés in Auroville
Workshop Day 1: Preparing, cooking, and washing the plant fibers
If you ask someone what paper is made of, most would immediately say trees. However, with the process of making handmade paper, you can use other plant fibers to make an incredible range of handmade papers. In this workshop, I learned to make paper from local materials that included papyrus, cotton rags, and banana stem.
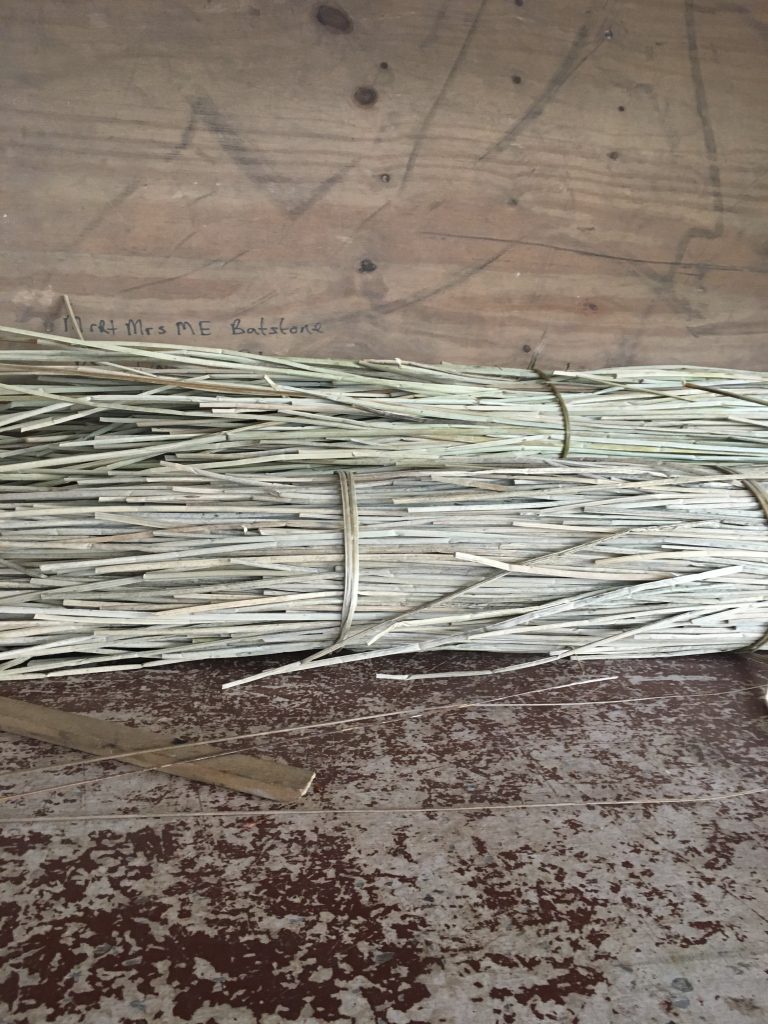
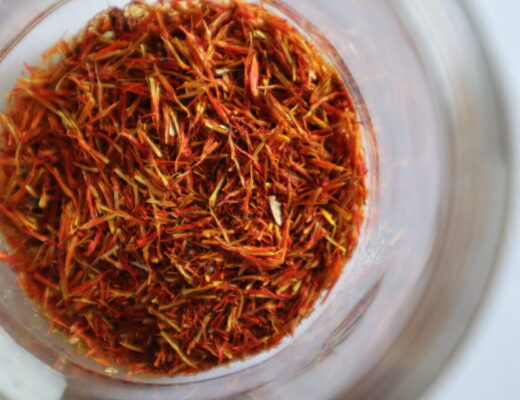
Papyrus
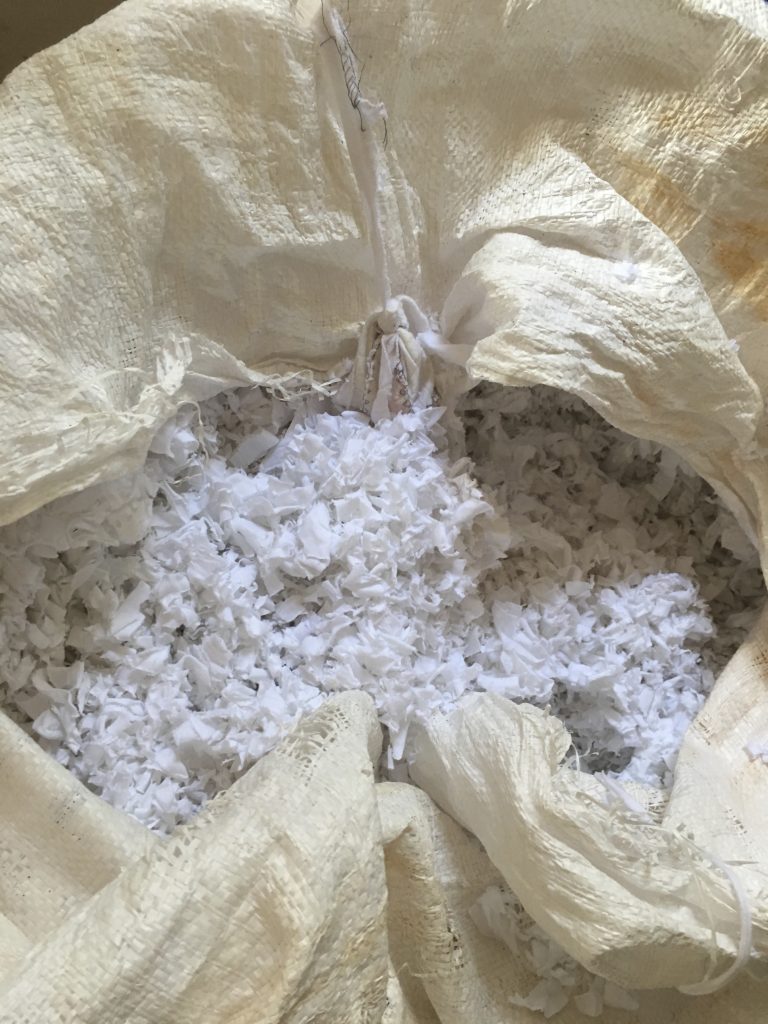
Cotton scraps
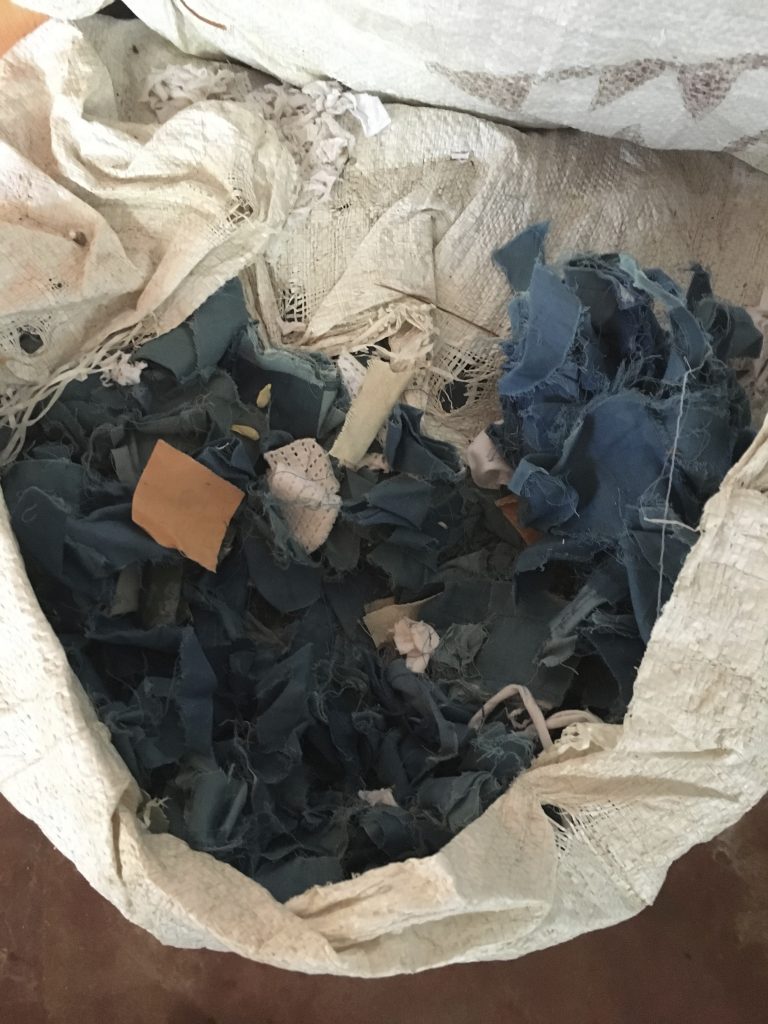
Denim scraps
Day 1 of the workshop began by learning about various materials that could be used in making paper. Our course instructor was a young volunteer ( Parita Shah ) from Chicago. We were going to learn the process of making paper from papyrus, a locally grown plant.
Papyrus
Step 1: Papermaking involves first preparing the pulp, and then making the paper. We already had the raw material cleaned, sorted, and shredded into small pieces before they were cooked with lye (pH12-14). Another alternative in this step is to used soda ash. Both soda ash and lye are highly caustic and corrosive, hence they are useful in breaking down particularly tenacious plant fibers such as raw hemp, banana, and in our case papyrus. Using an alkali also neutralizes the pH of pulp fibers by breaking down the acidic lignins that make paper non-archival. Lye is the stronger of the two caustics. It is generally recommended to begin by cooking with soda ash and only turn to cook with lye when soda ash does not do the job. The pot was left to simmer for about 2hrs or more.
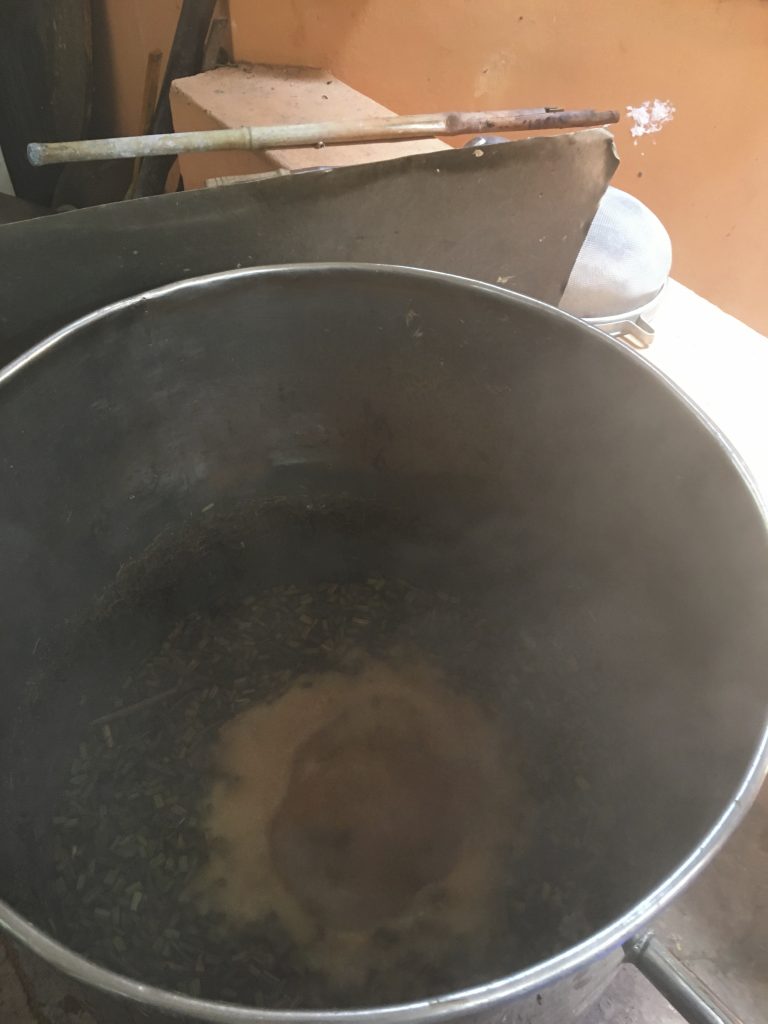
Papyrus being cooked in lye
Whilst the pot was simmering we had a little tea break which I really enjoyed sipping under the shade of several trees and the red earth underneath. The day was unfolding beautifully and I was exuberant!
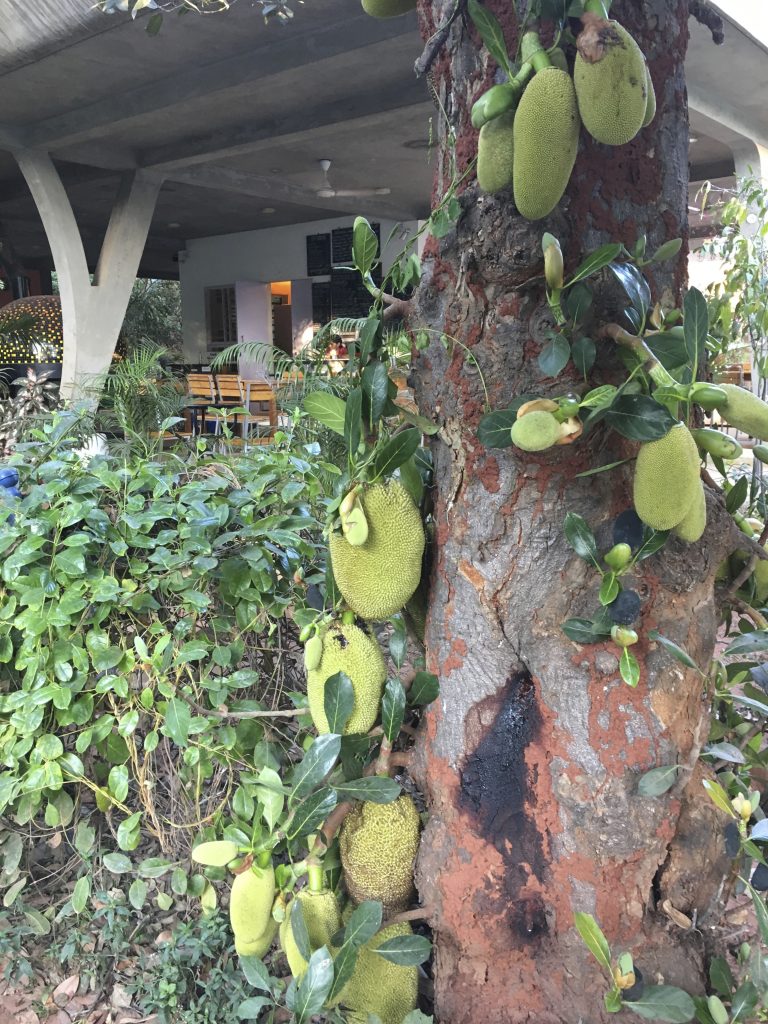
Jackfruit tree
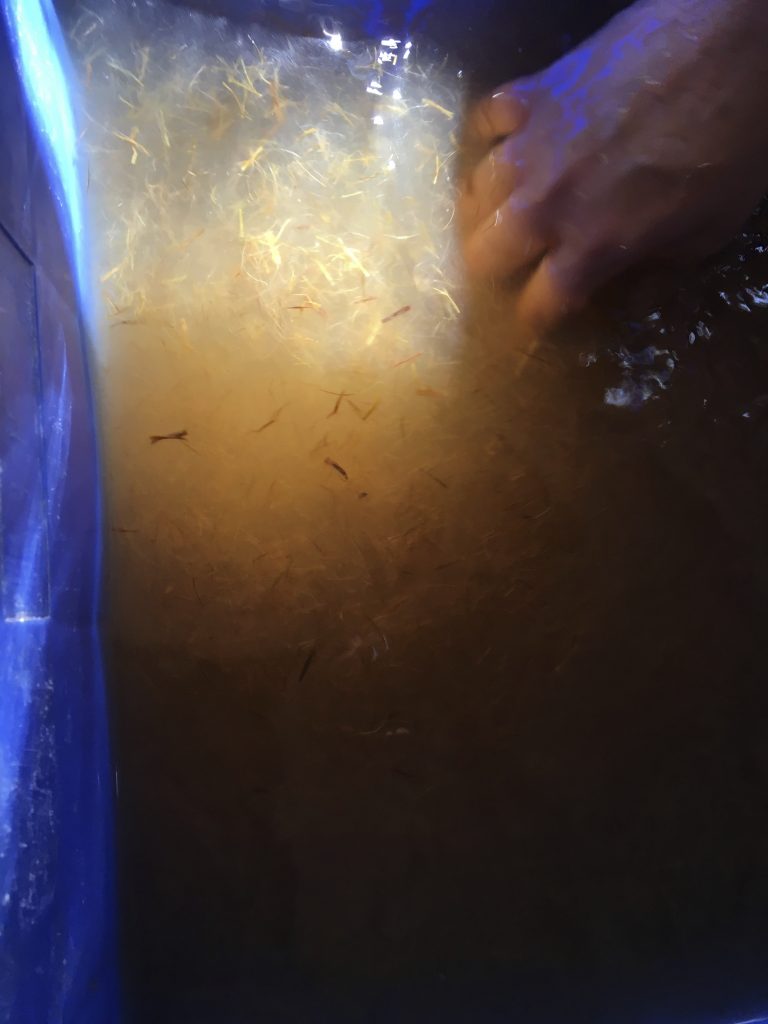
Step 2: Once the fibers were cooked they were washed thoroughly with water to remove the alkali. This process requires a lot of water and isn’t really sustainable unless the wash water is channeled to serve some purpose. The fibers were washed several times with copious amount of water and agitation and hopefully had no traces of alkali. In my opinion, testing the residual water with a pH strip or a pH meter to detect the presence of alkali would have been more intelligent. Alternatively, one could have made use of citric acid or white vinegar to adjust the pH of the wash water to between 7 and 8 before pouring it down the drain. But nothing of this was done. Anyway, I didn’t want to annoy anyone with any more questions and just focus on the learning aspect.

Preparing to wash the cooked papyrus fibers
Step 3: The fiber was now ready to be transformed into a pulp for making paper. Within papermaking there is a lot of equipment required– vats, molds, deckles, buckets, hoses, presses, dryer boxes, blotters, etc, etc, etc. But above all the beater is pivotal. Unless you break down the fiber you got nothing. The action of beating/macerating elongates the fibers allowing them to flow together creating a strong woven hydrogen bond while also being able to compress down into a flat even sheet, and the way to do this is with a beater. We used a hand mallet to carry out this process. It was a long and laborious process that required a lot of patience. The rhythmic beating of wet pulp with a piece of wood was quite meditative.

Cooked and washed fibers of Papyrus
At the facility, we also witnessed the Hollander Beater in action. The western papermaking since 1673 CE has been reliant on this tool for its papermaking. This oval trough with a cogged wheel and a bedplate does a fantastic job on macerating fibers of all kinds.
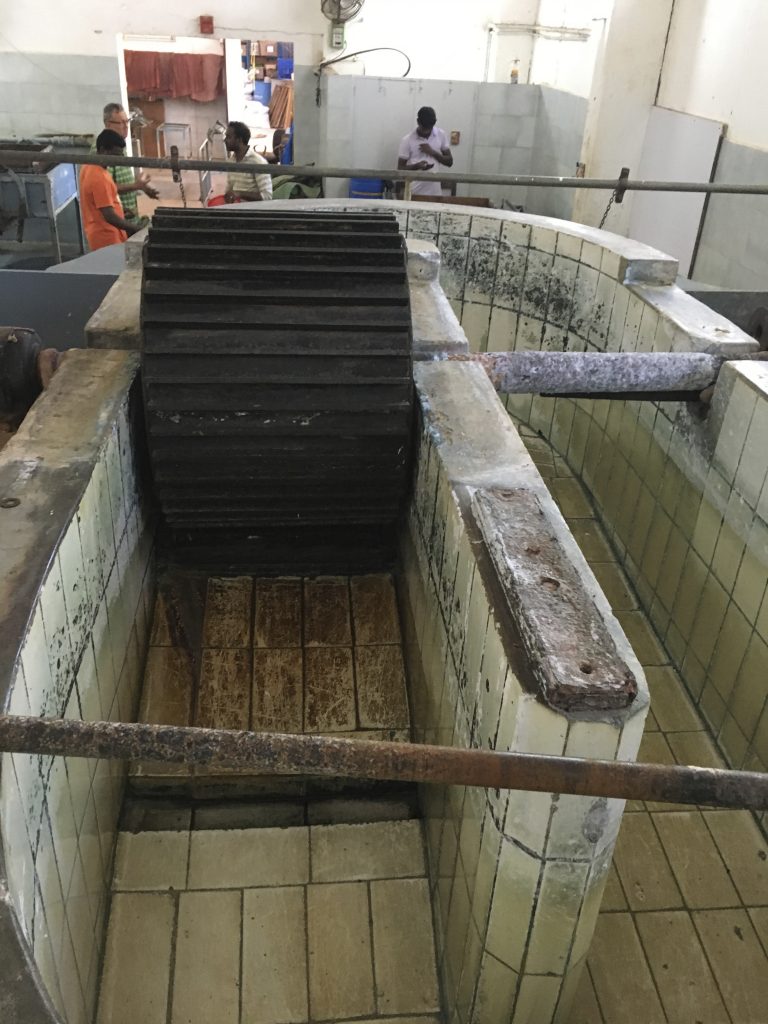
Hollander beater
Day 1 flew by quickly and it was time to go home. I was looking forward to pulling a sheet out of the pulp the following day!
Day 2: sheet forming, couching, lifting, and drying
Day 2 of the workshop focussed on learning and practicing sheet forming, couching, and lifting using cotton pulp; and learning how to make inclusion and create unique artistic papers by placing decorative plants and flowers between layers of pulp; and finally pressing and drying of finished papers.
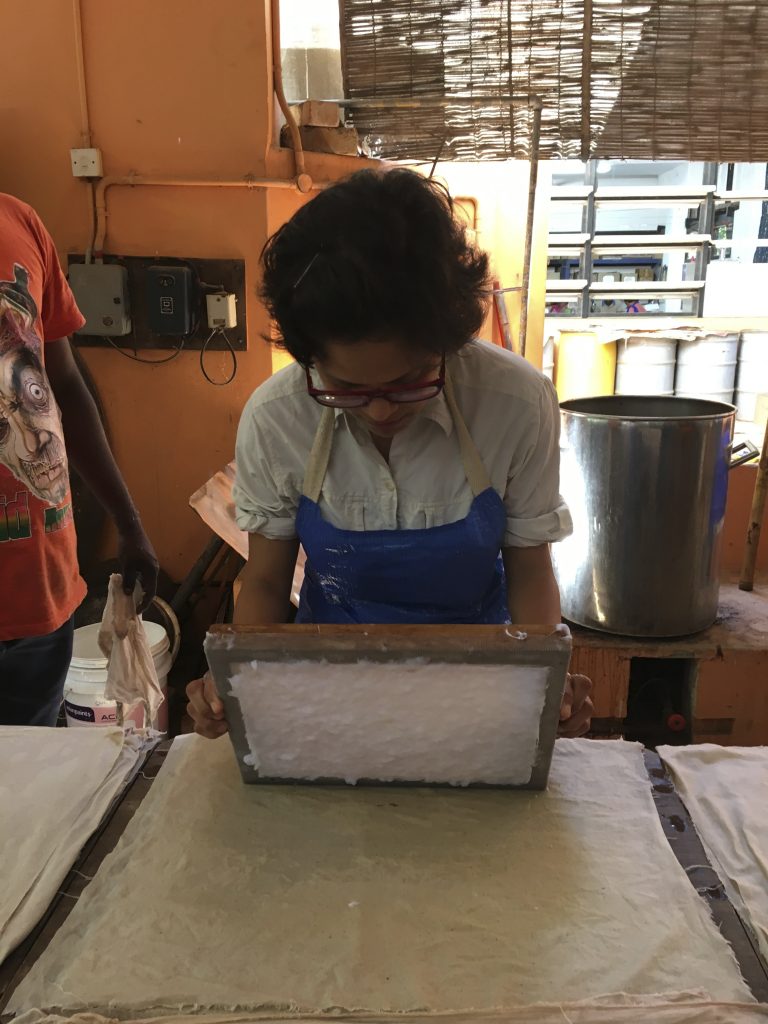
Step 4: Basic papermaking involves dipping a screen stretched across a frame—known as the “mould and deckle”—into a vat of pulp.
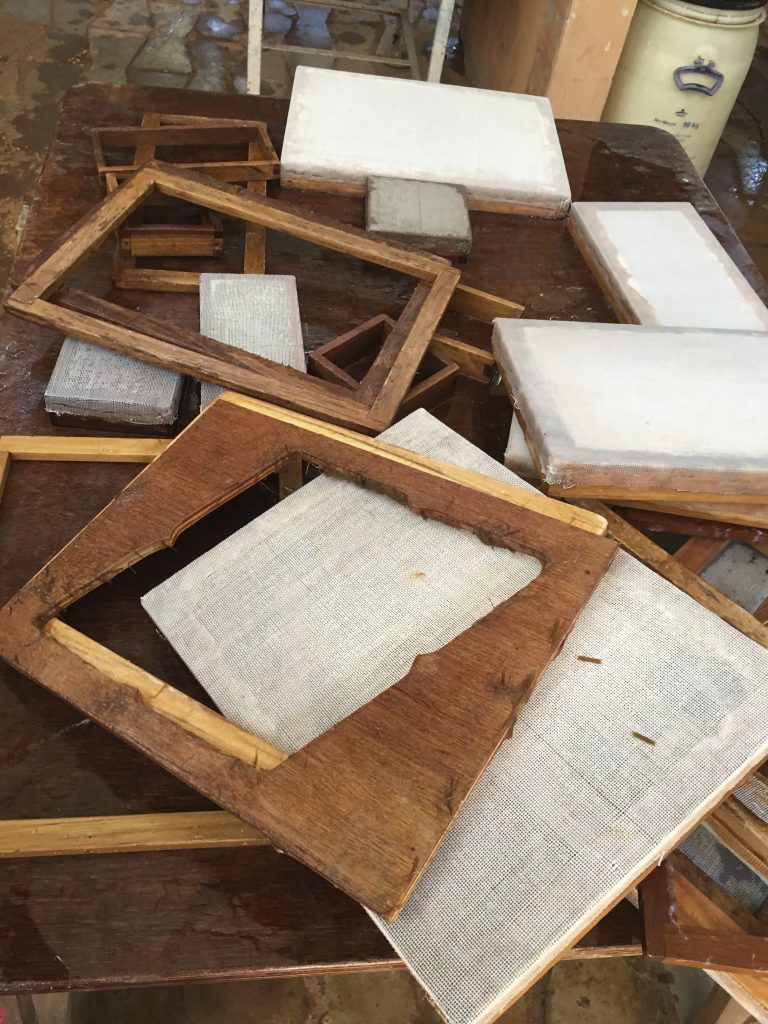
Mould and Deckle in various forms and sizes
An agitated vat of papyrus pulp
You then lift the screen at an angle of about 45degree out of the vat and shake it so that the fibers interlock as the water drains through the screen. This step required a little bit of practice before I could make my own sheets of paper.
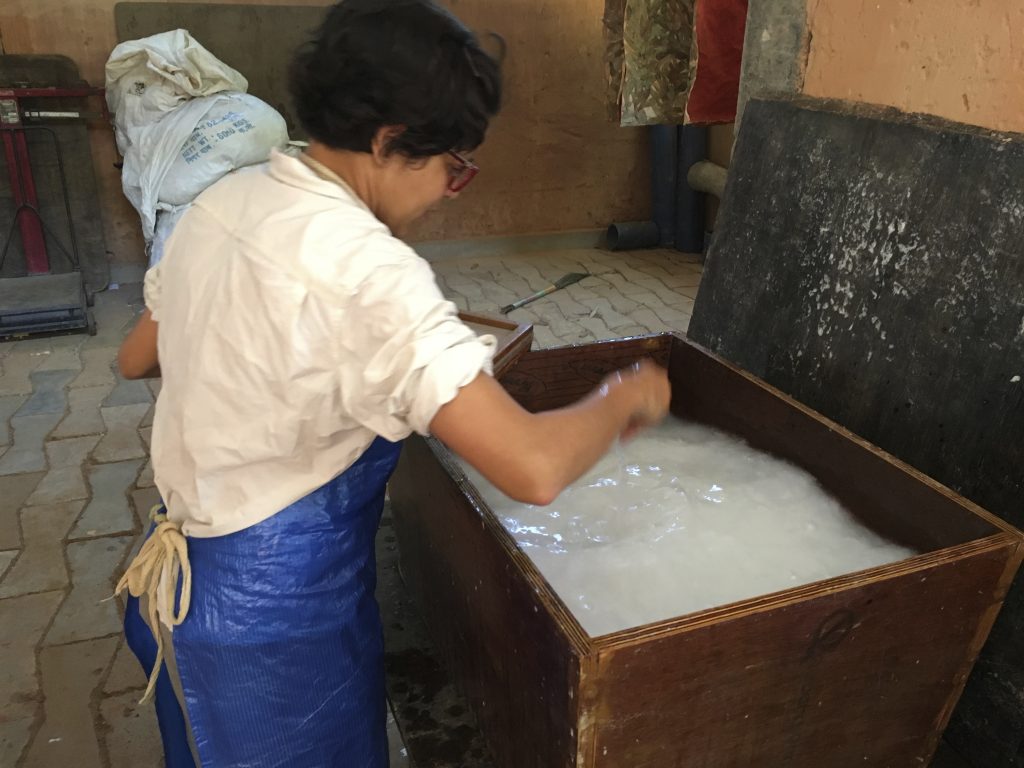
Stir the pulp solution for even dispersion of fibers in water
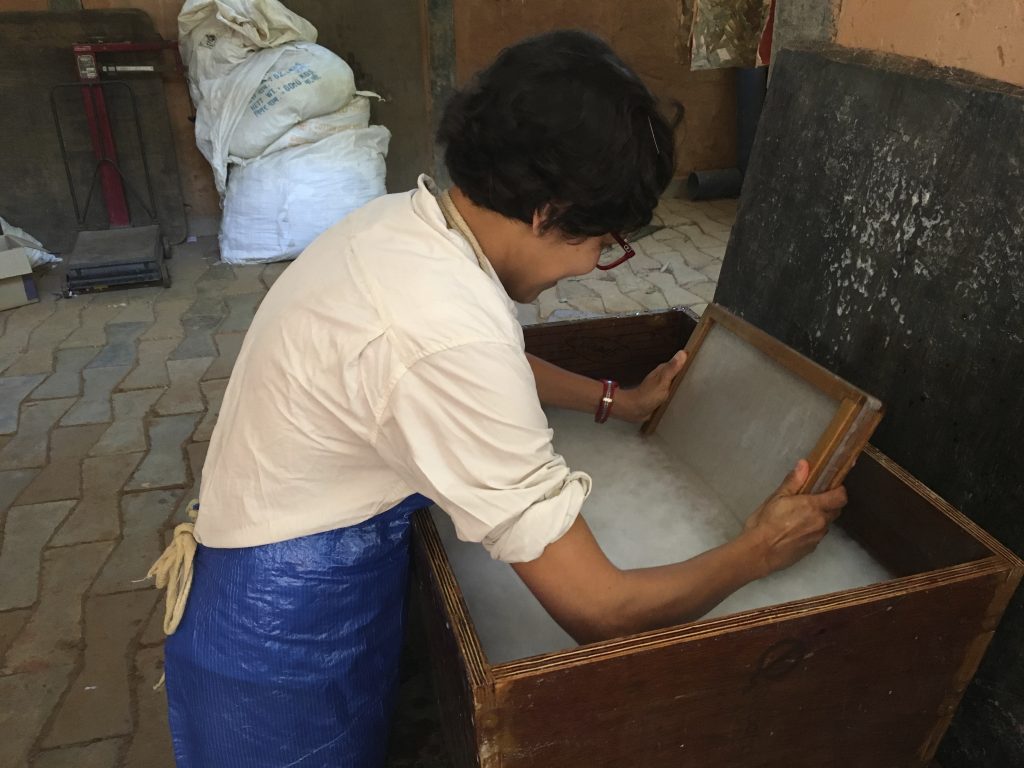
Dip the mould and deckle at 45 degrees
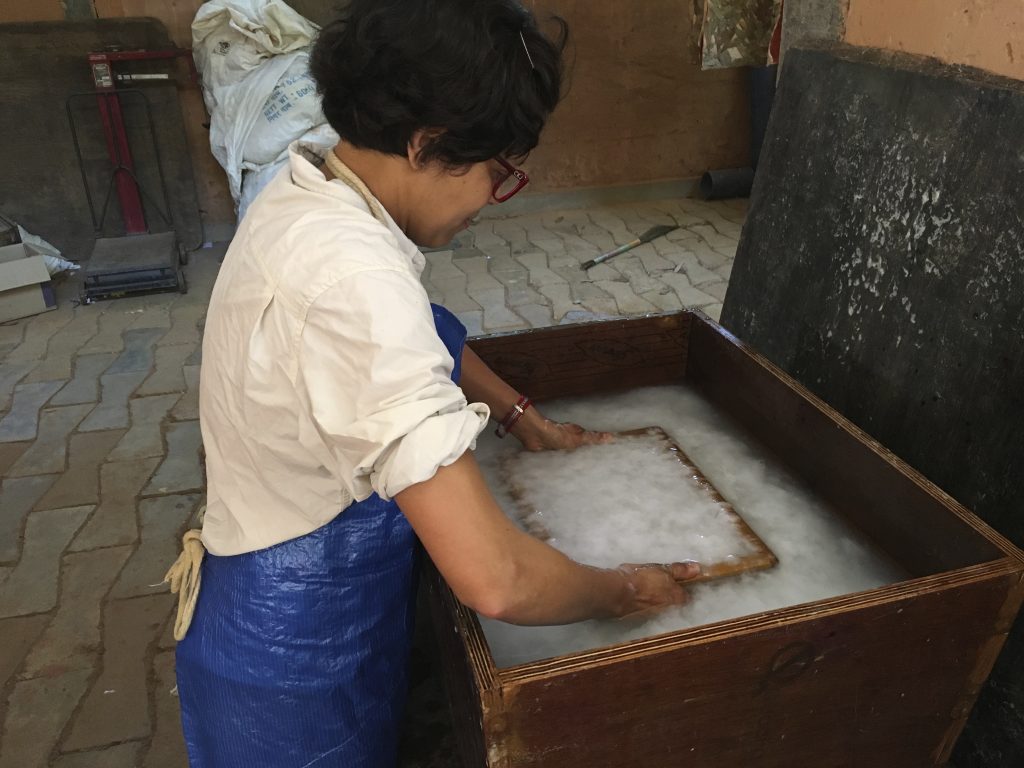
Pull the frame and shake gently to interlock the fibers
Step 5: The freshly made sheet of paper was then transferred onto a surface—pieces of felt and cotton—to be pressed and dried. This process is called Couching.
The process of Couching
Step 6: To continue making sheets, I placed another couching material (cotton sheet) directly on top of the sheet I had just made.
Couching surfaces
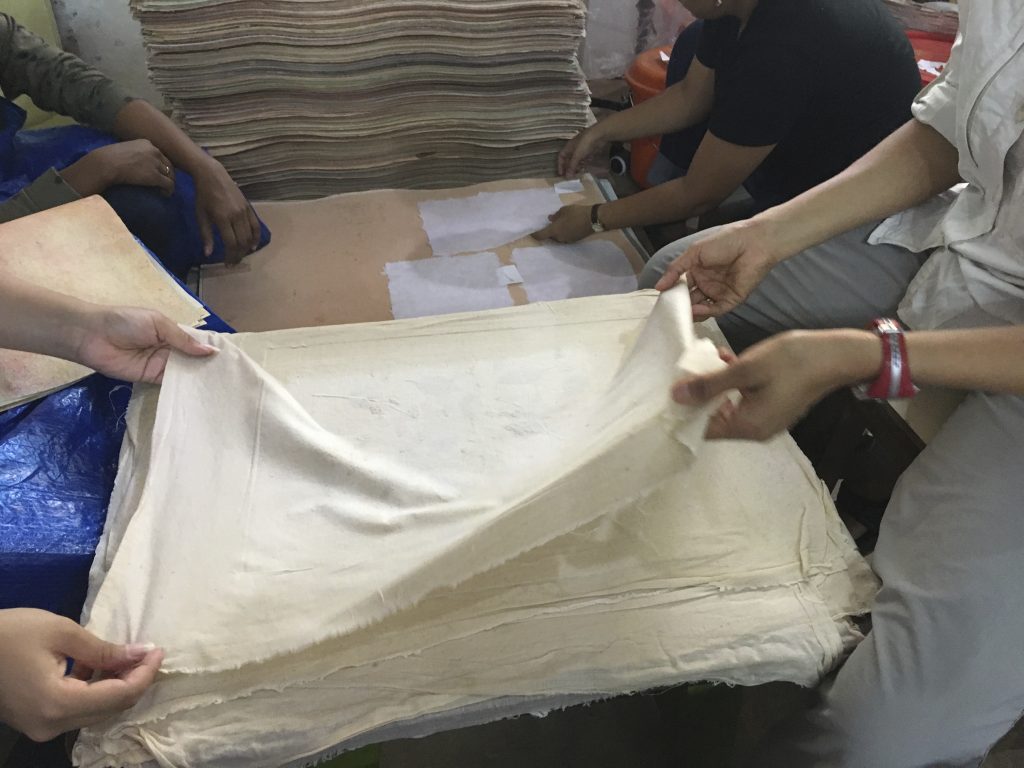
Placing cotton sheet on freshly made paper
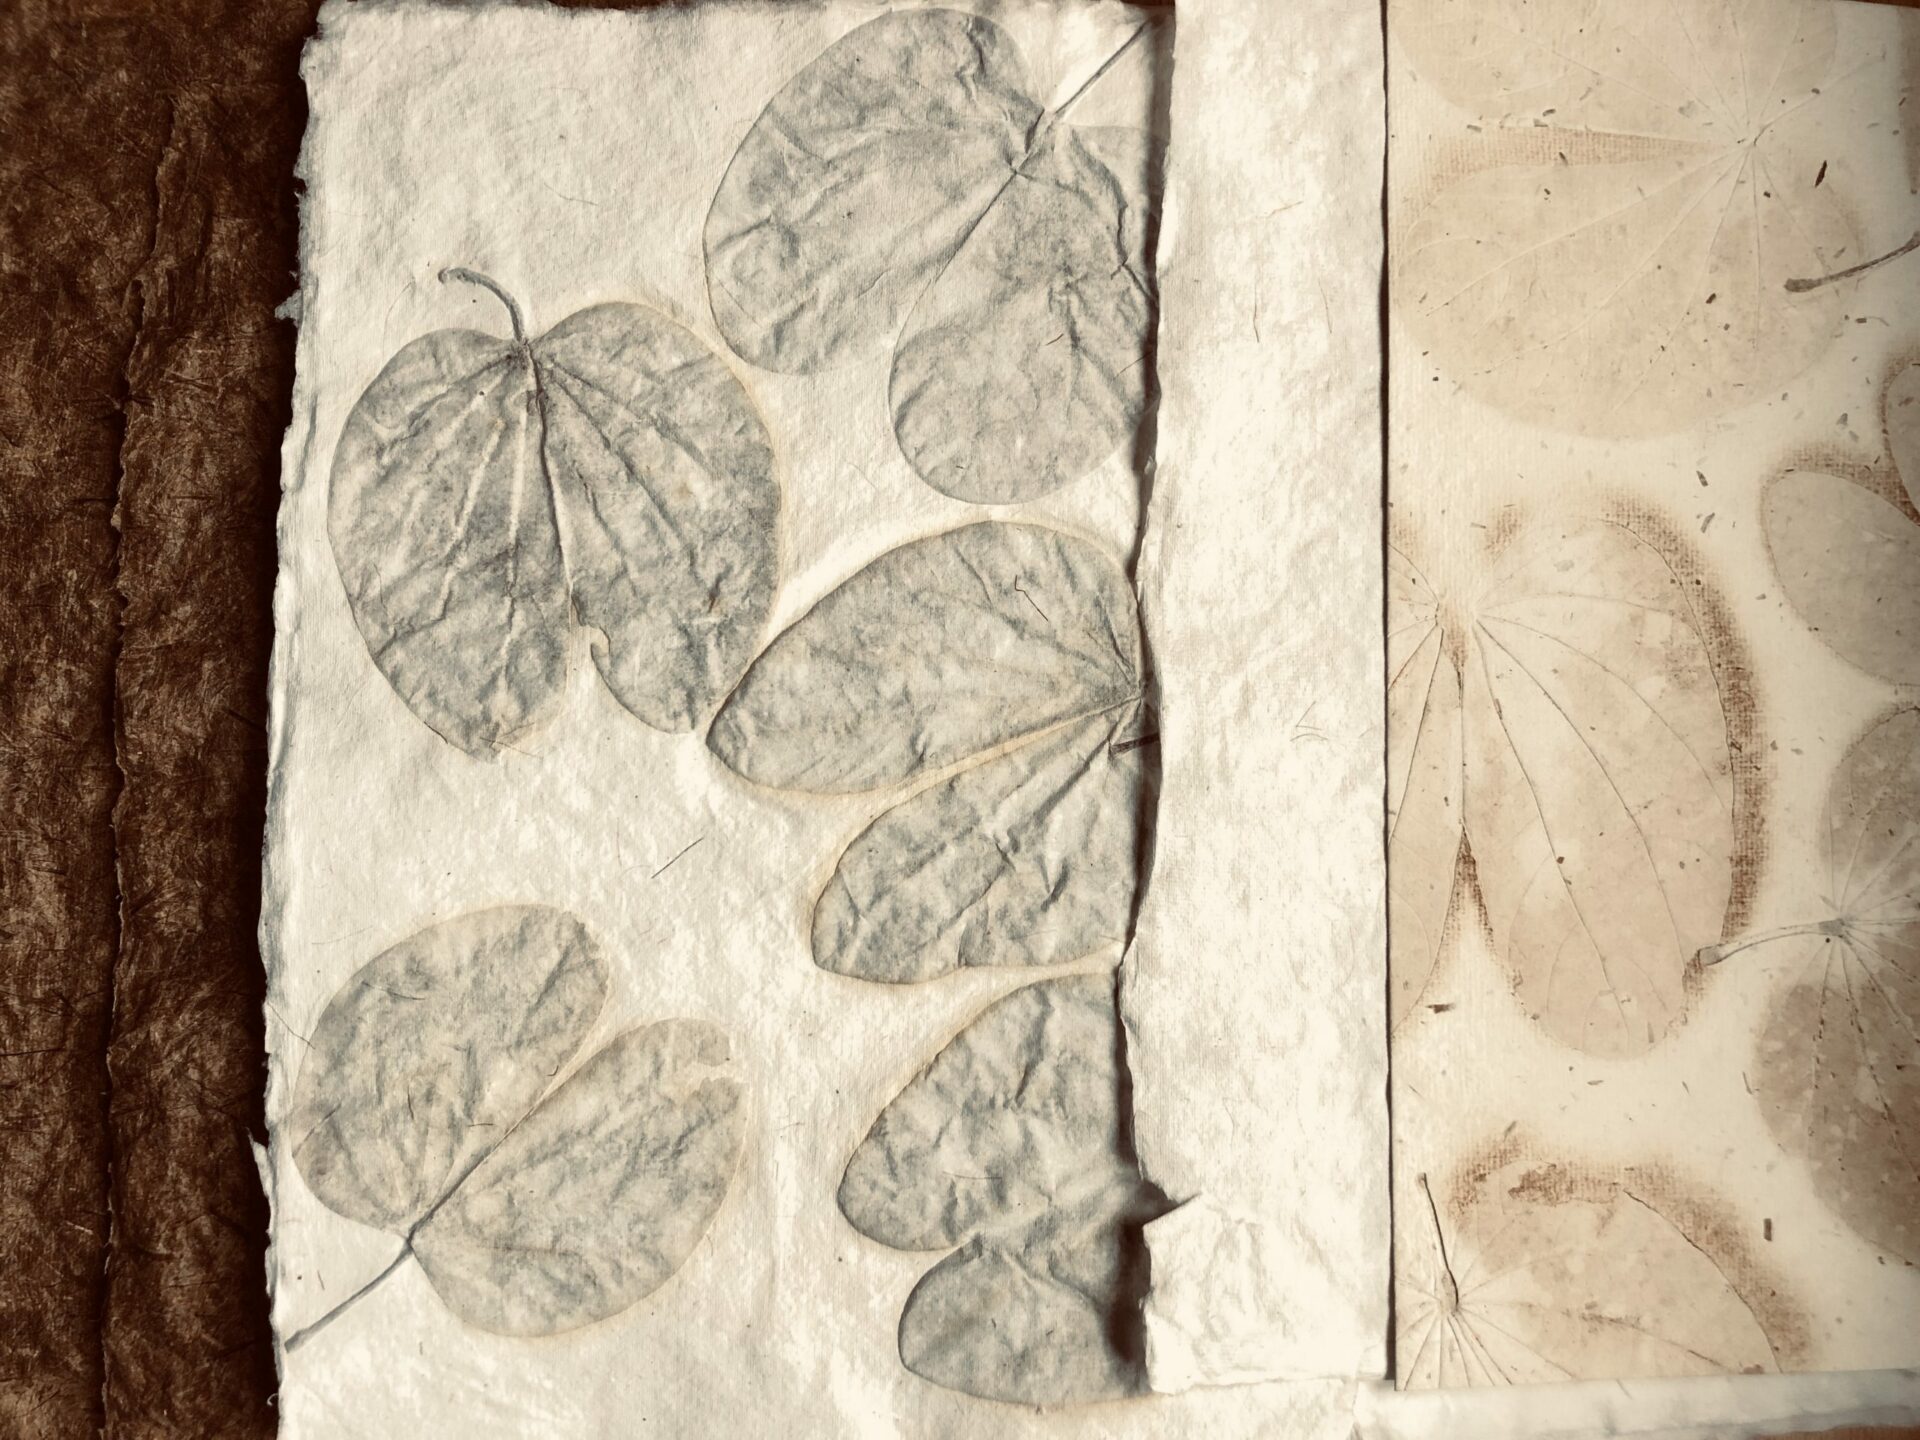
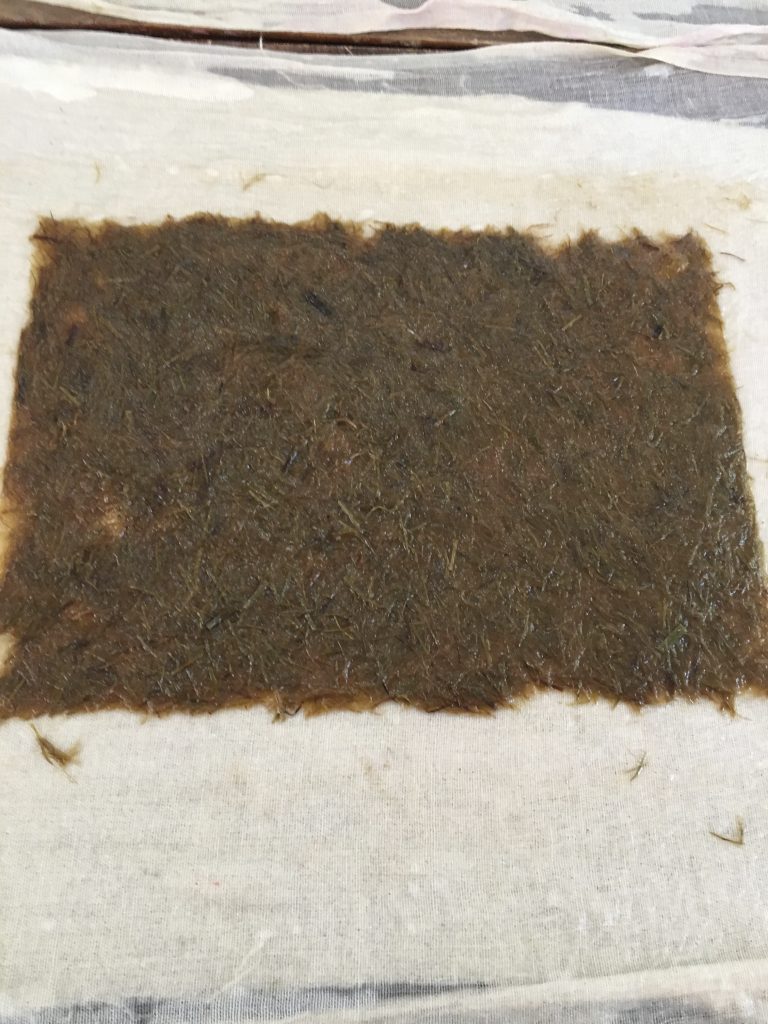
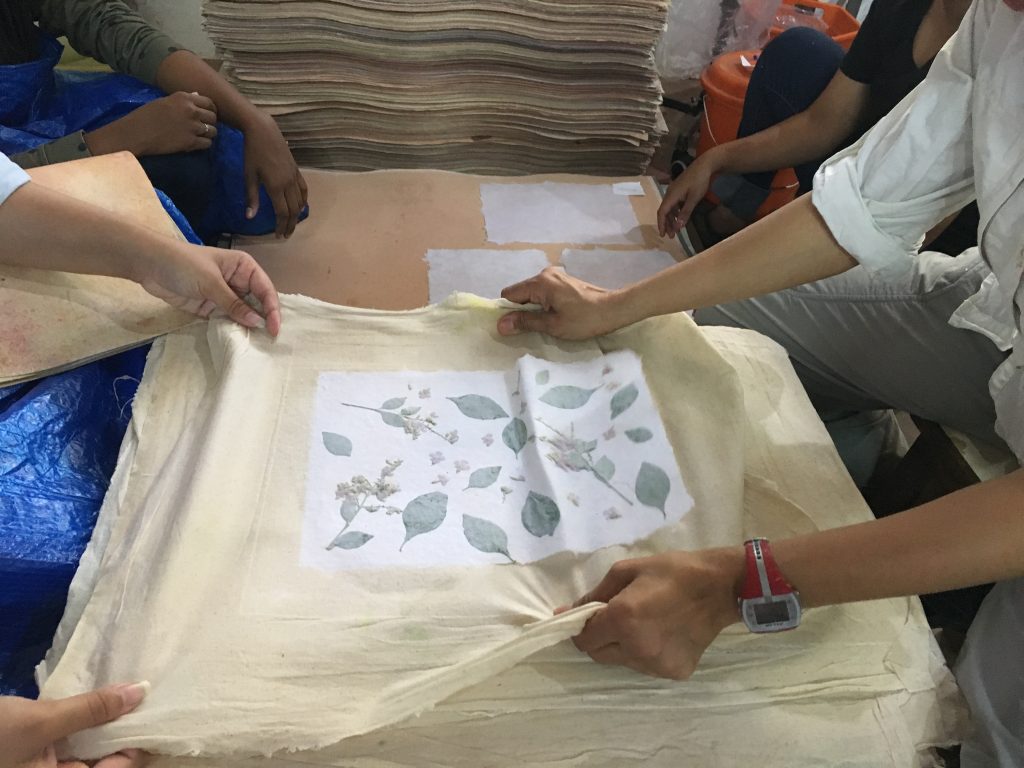
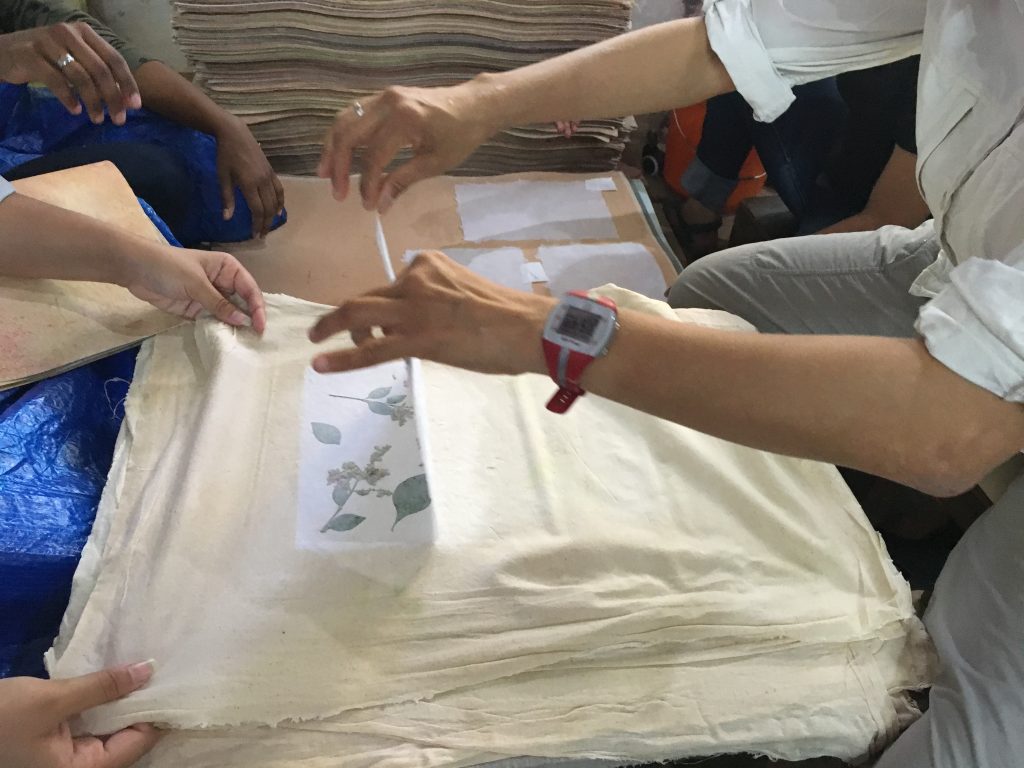
Step 7: It was now the time to experiment and get creative with the papermaking process. We worked with different fibers, flowers, plants, yarns, etc to include in our paper making project. This was quite a fun process! I had now understood how those beautiful flora embedded papers were made.
The first sheet of papyrus paper
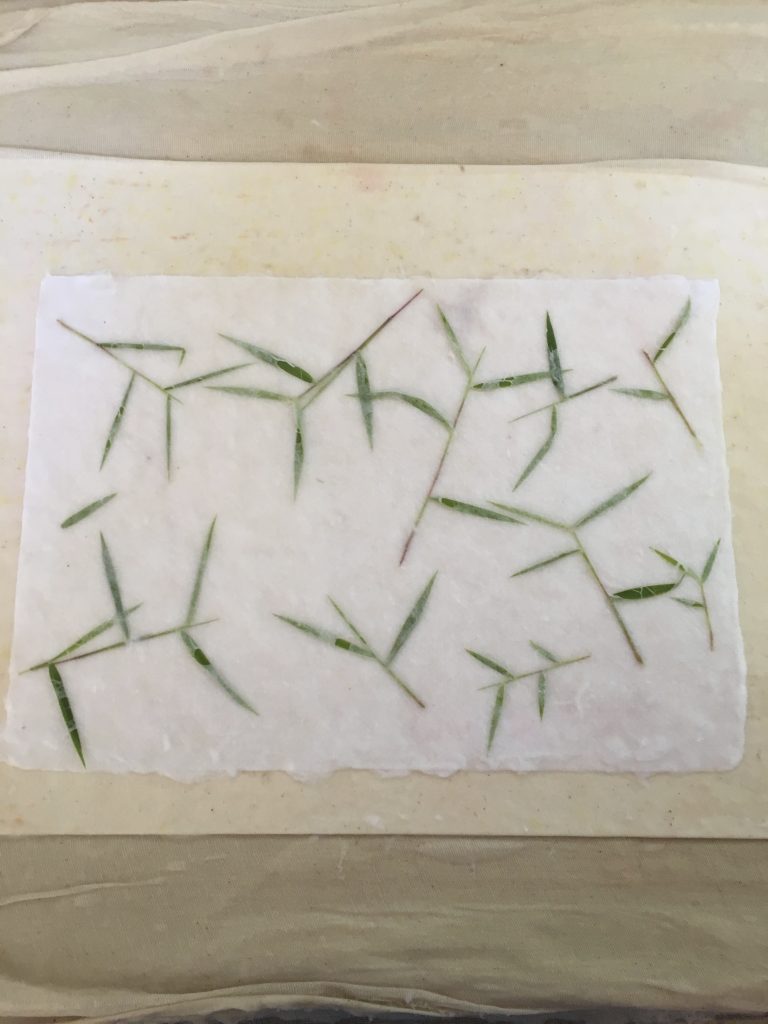
Grass layered between two sheets of cotton rag paper
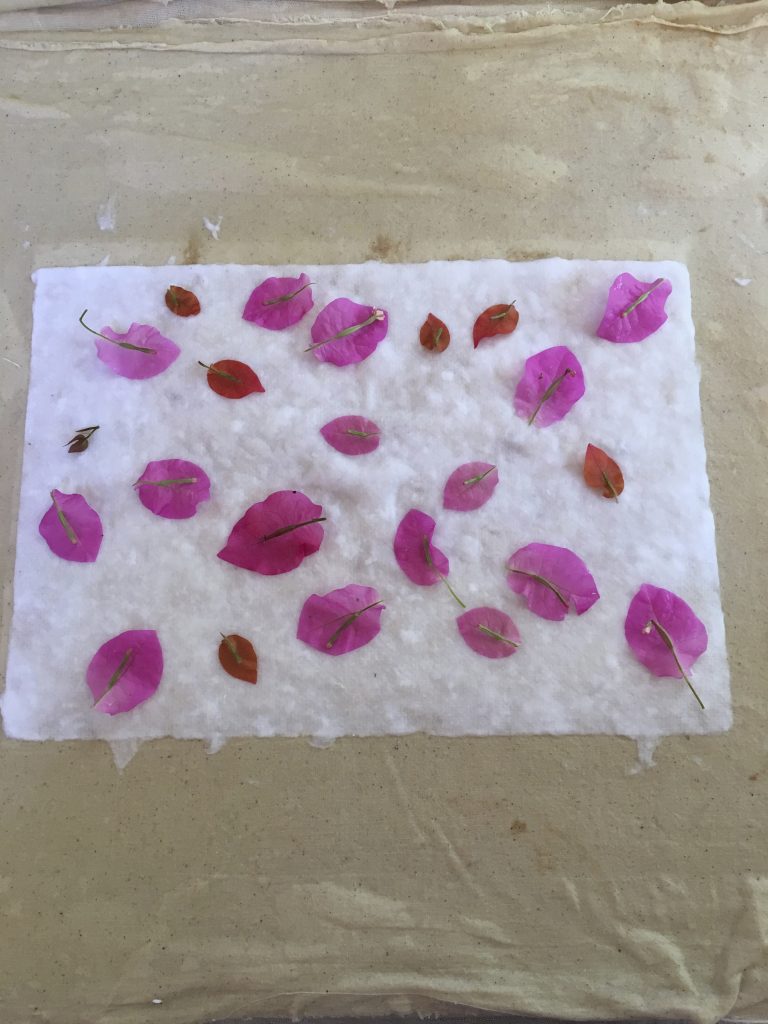
Bougainvillea on cotton rag paper
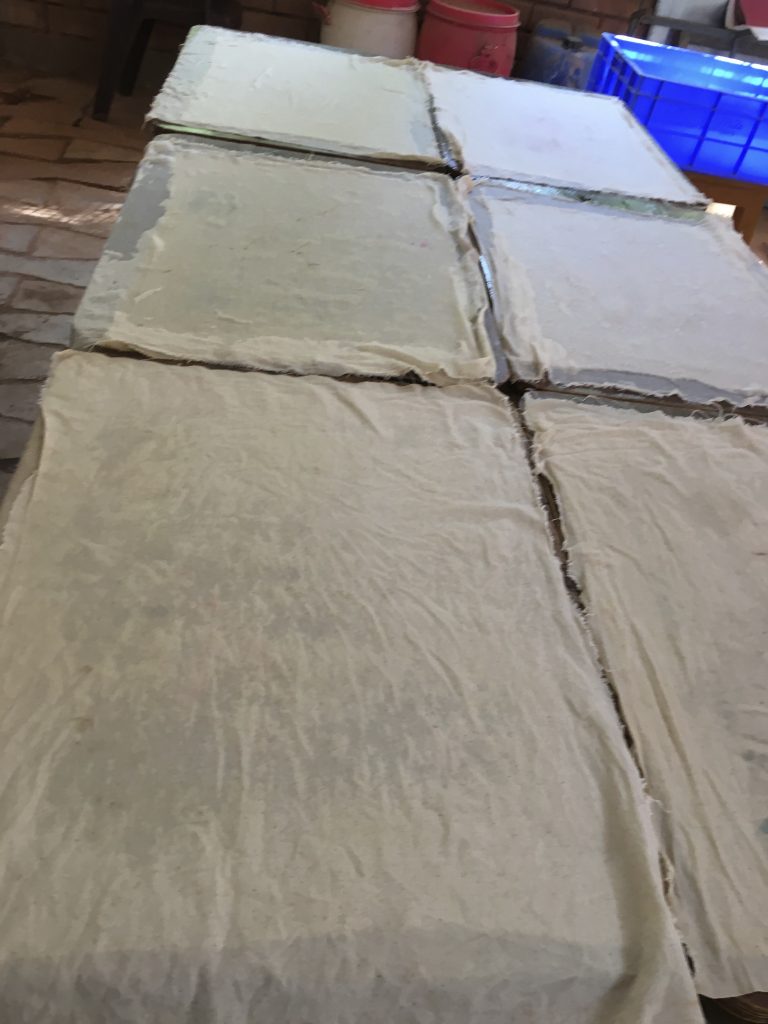
Step 8: After making enough sheets of paper it was now time for taking our sheets to the hydraulic press to remove excess water and to flatten the paper.
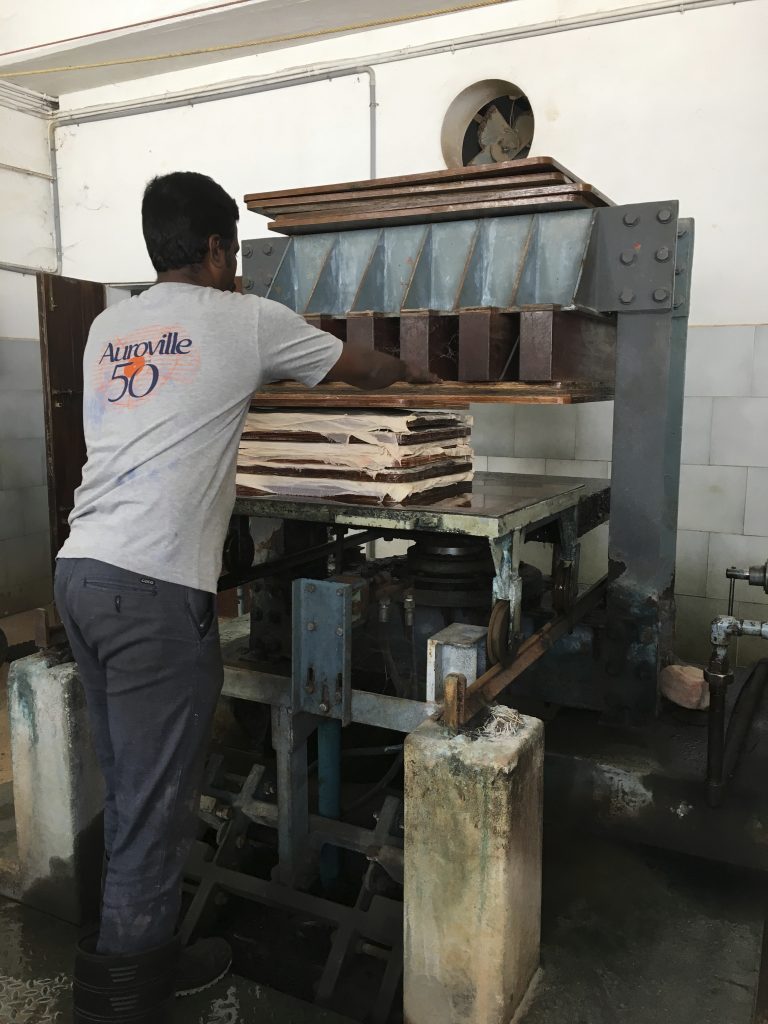
Stack of paper being placed in the hydraulic press
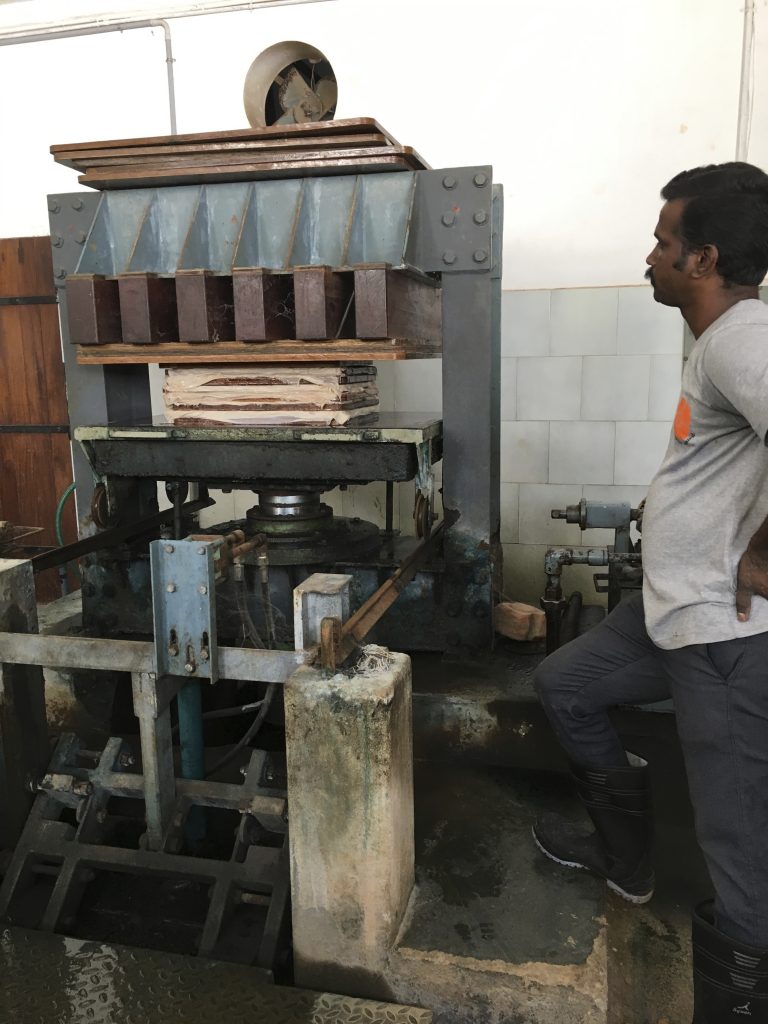
Hydraulic press in action
I can’t remember how much pressure was applied to remove excess water but it was impressive to see the volume of water coming out of the press.
Step 9: After the removal of water it was time to lift the sheets for drying. This part was a bit tricky. This step was performed by slightly stretching the couching sheet underneath and lifting the paper gently. It was an amazing experience lifting the sheets and getting to see what we had created!
Stretching
Lifting
Step10: The final stage of this process was drying our own unique sheets of handmade paper between layers of old newspapers.
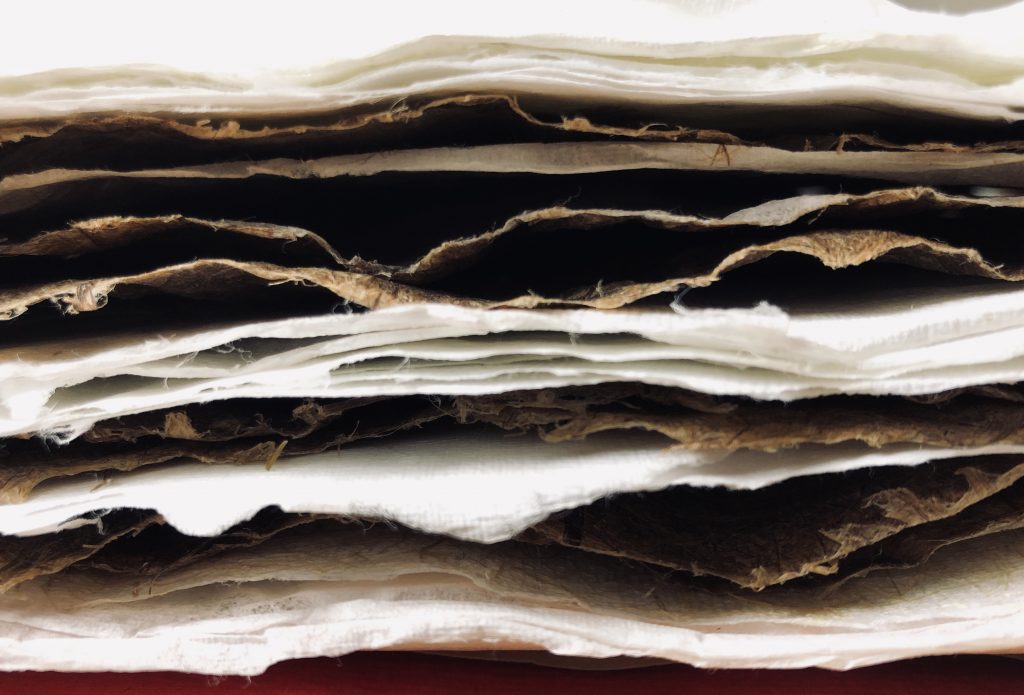
My very own sheets of handmade paper
I had finally learned how to make handmade paper. I am very thankful to our course instructor and all the help we received from a very cordial staff of the Papyrus unit in Auroville. It was an enriching experience!

Being helped by the wonderful support staff of Papyrus
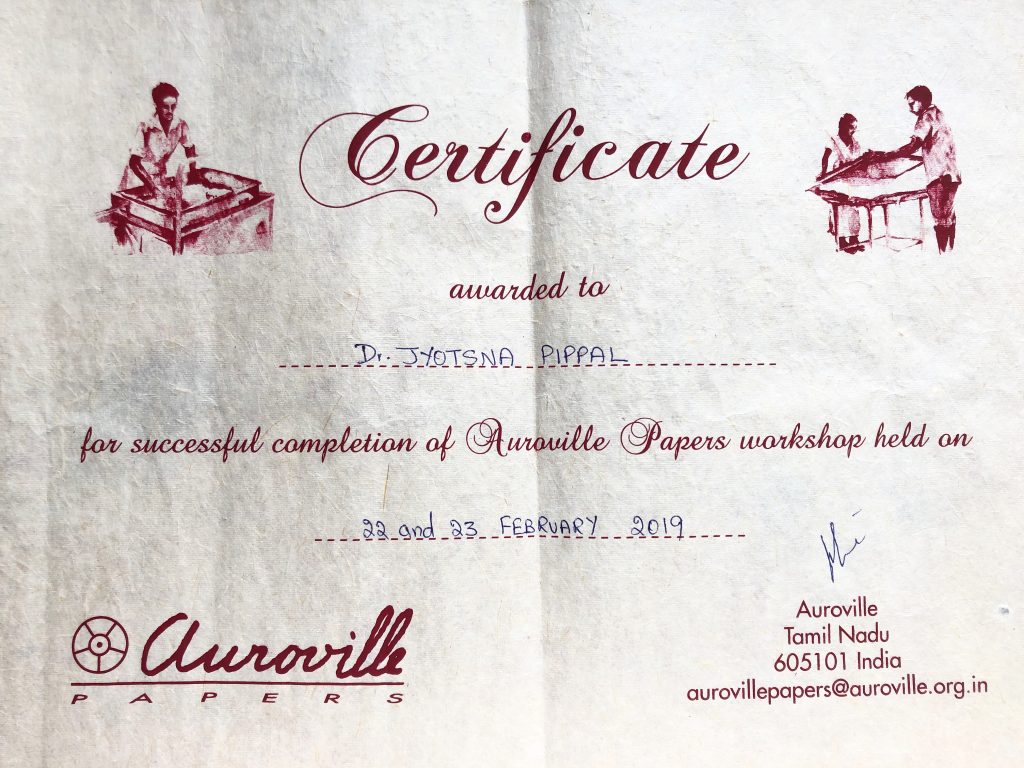
And, I also received a course completion certificate, which was a beautiful banana fiber paper!
Not to mention we enjoyed every moment of our stay in Auroville!
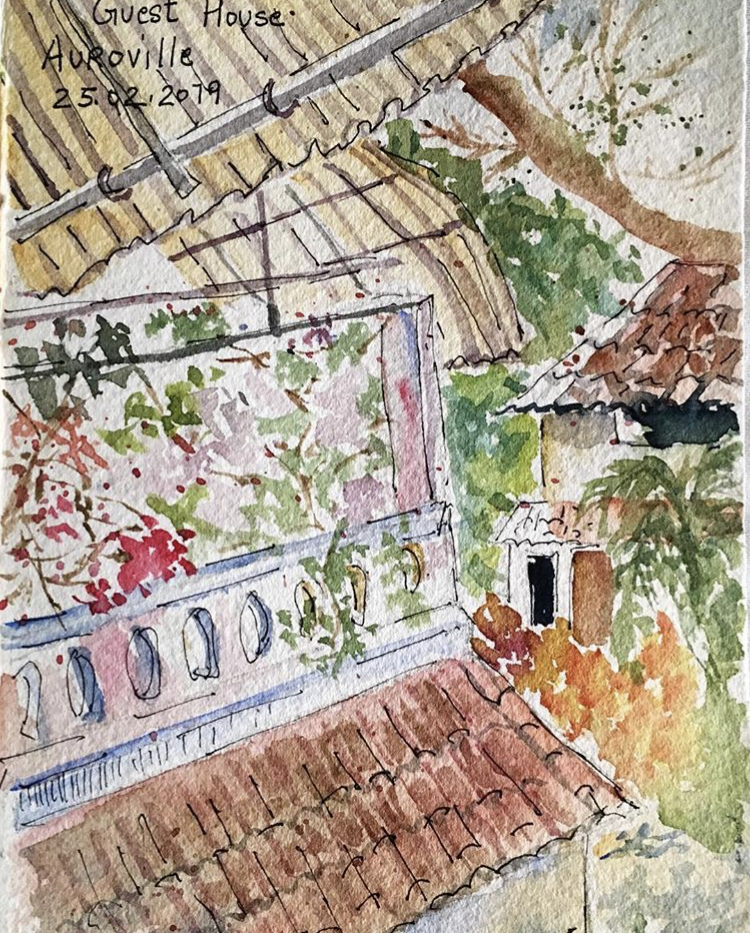
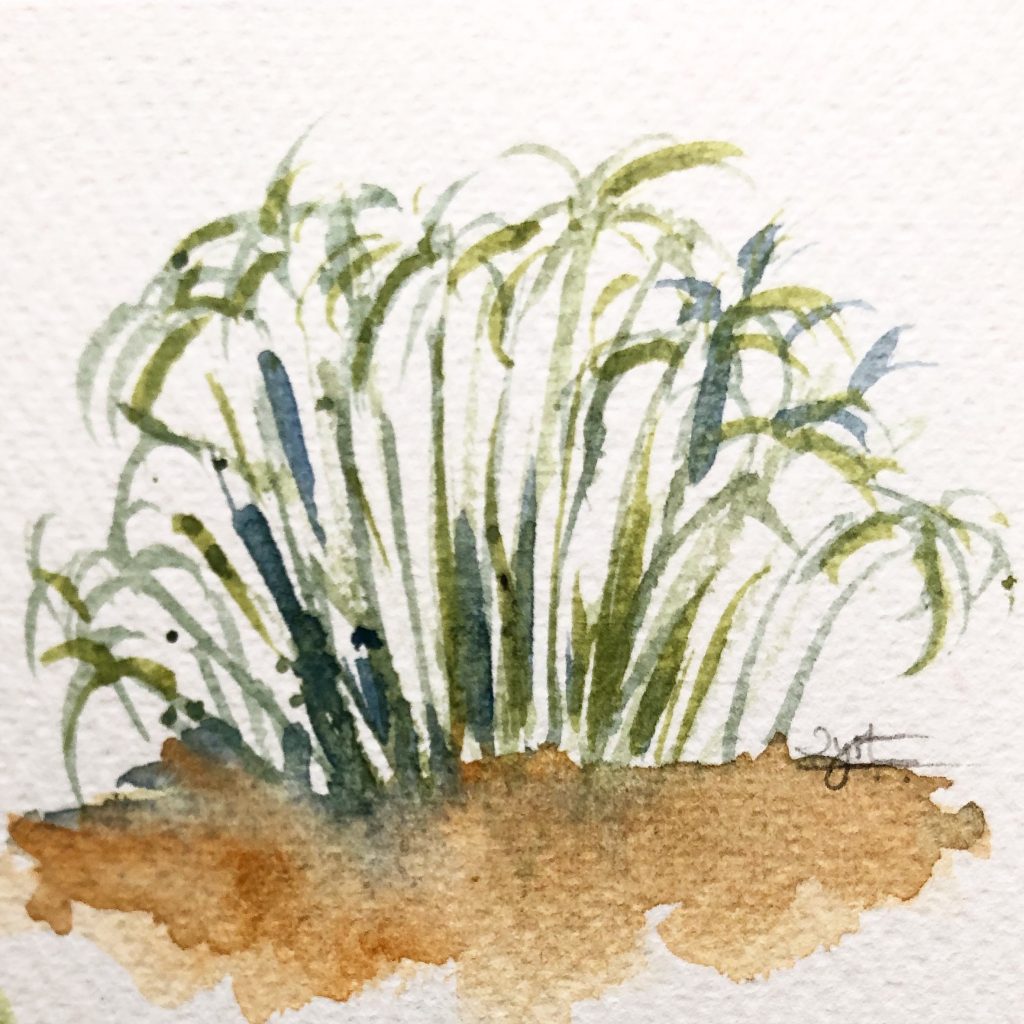
Travel sketch- Gaia’s garden, Auroville
Recommended readings:
1.http://www.dsource.in/course/handmade-paper-making
2. https://www.paperslurry.com/
Occupational hazards in the papermaking process:
1. Some wood and plant materials can cause allergic reactions and skin irritation.
2. The alkaline soda ash and lye are highly corrosive by skin and eye contact, inhalation, and ingestion. Boiling solutions of these alkaline materials can be very dangerous because of the risk of spilling over, and the fact that the steam contains trapped alkali.
3. Beaters can be severe safety hazards due to the chance of trapping hands in the blades during motion and when cleaning pulp out of the blades. In addition, beaters can present noise hazards.
4. The presence of a large amount of water also presents electrical hazards if it splashes onto electrical outlets or other electrical equipment. In addition, there is the possibility of major water leaks.
Precautions :
1. Learn to identify possible toxic or allergy-causing woods and plants in your area.
2. If possible, do not boil fibers in alkali. Making paper from used scraps of paper, fabric rags and or cardboard, or from rotten or mulched plant materials, eliminates the need for boiling in alkali
3. When using lye or soda ash, wear rubber gloves, a protective apron, and safety glasses.
4. Add alkali slowly to the water while stirring. Adding it too fast can result in boiling and splashing.
5. If possible, do not boil the lye or soda ash solution. It would be safer to heat it to a lower temperature for a longer period of time. Partially, cover the lid of the container and never leave the heated alkaline solution unattended to prevent boiling over.
6. When rinsing the pulp with fresh water to remove the alkali, remember that the wash water can be alkaline. Hence, wearing personal protective equipment is imperative.
No Comments